 Aloke
AlokeDishes and prices
Arabic and English name, price, section, description, tags, availability.
- Aloke Owners
- Web, iPhone and iPad, Android
This tab matters more than anything else in the console. What you enter here is the official source: Aloke reads it when somebody asks about you, it prints on your page, and your prizes, bundles and order-ahead all pick from it. Anything missing here is missing everywhere. (Web)
- In the Aloke Owners app, open «Your menu» from the home screen, then «Items». (iPhone and iPad, Android)
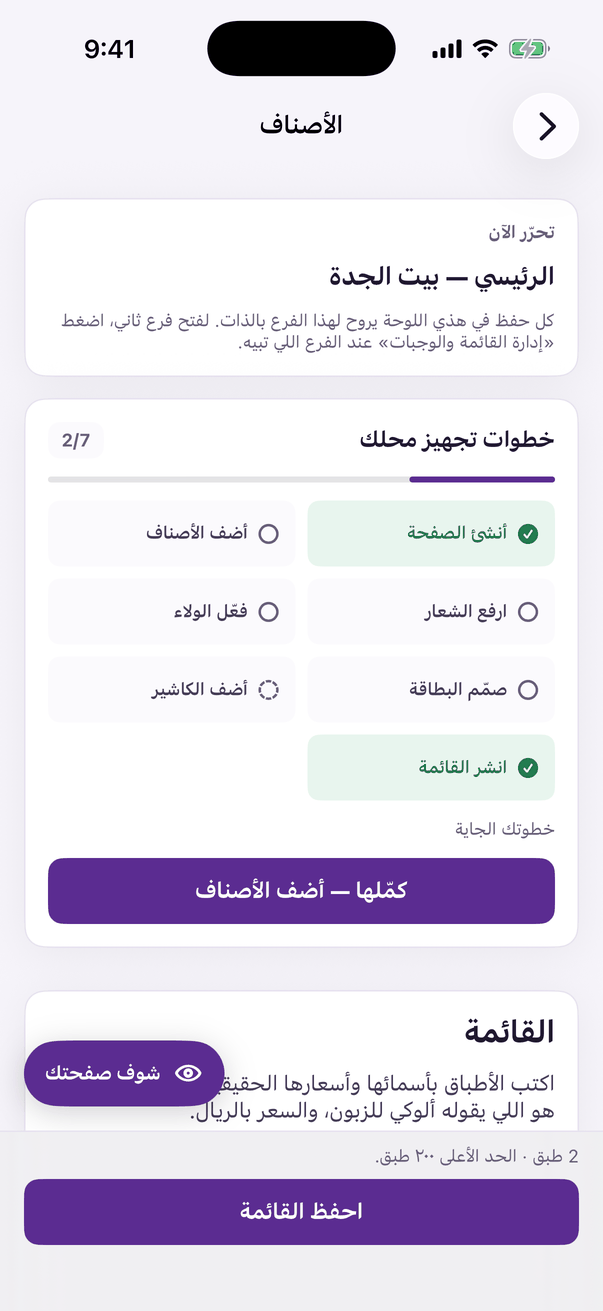
«Items»: the price and photo of every item. - Press «Add dish», it appends an empty row at the end of the list.
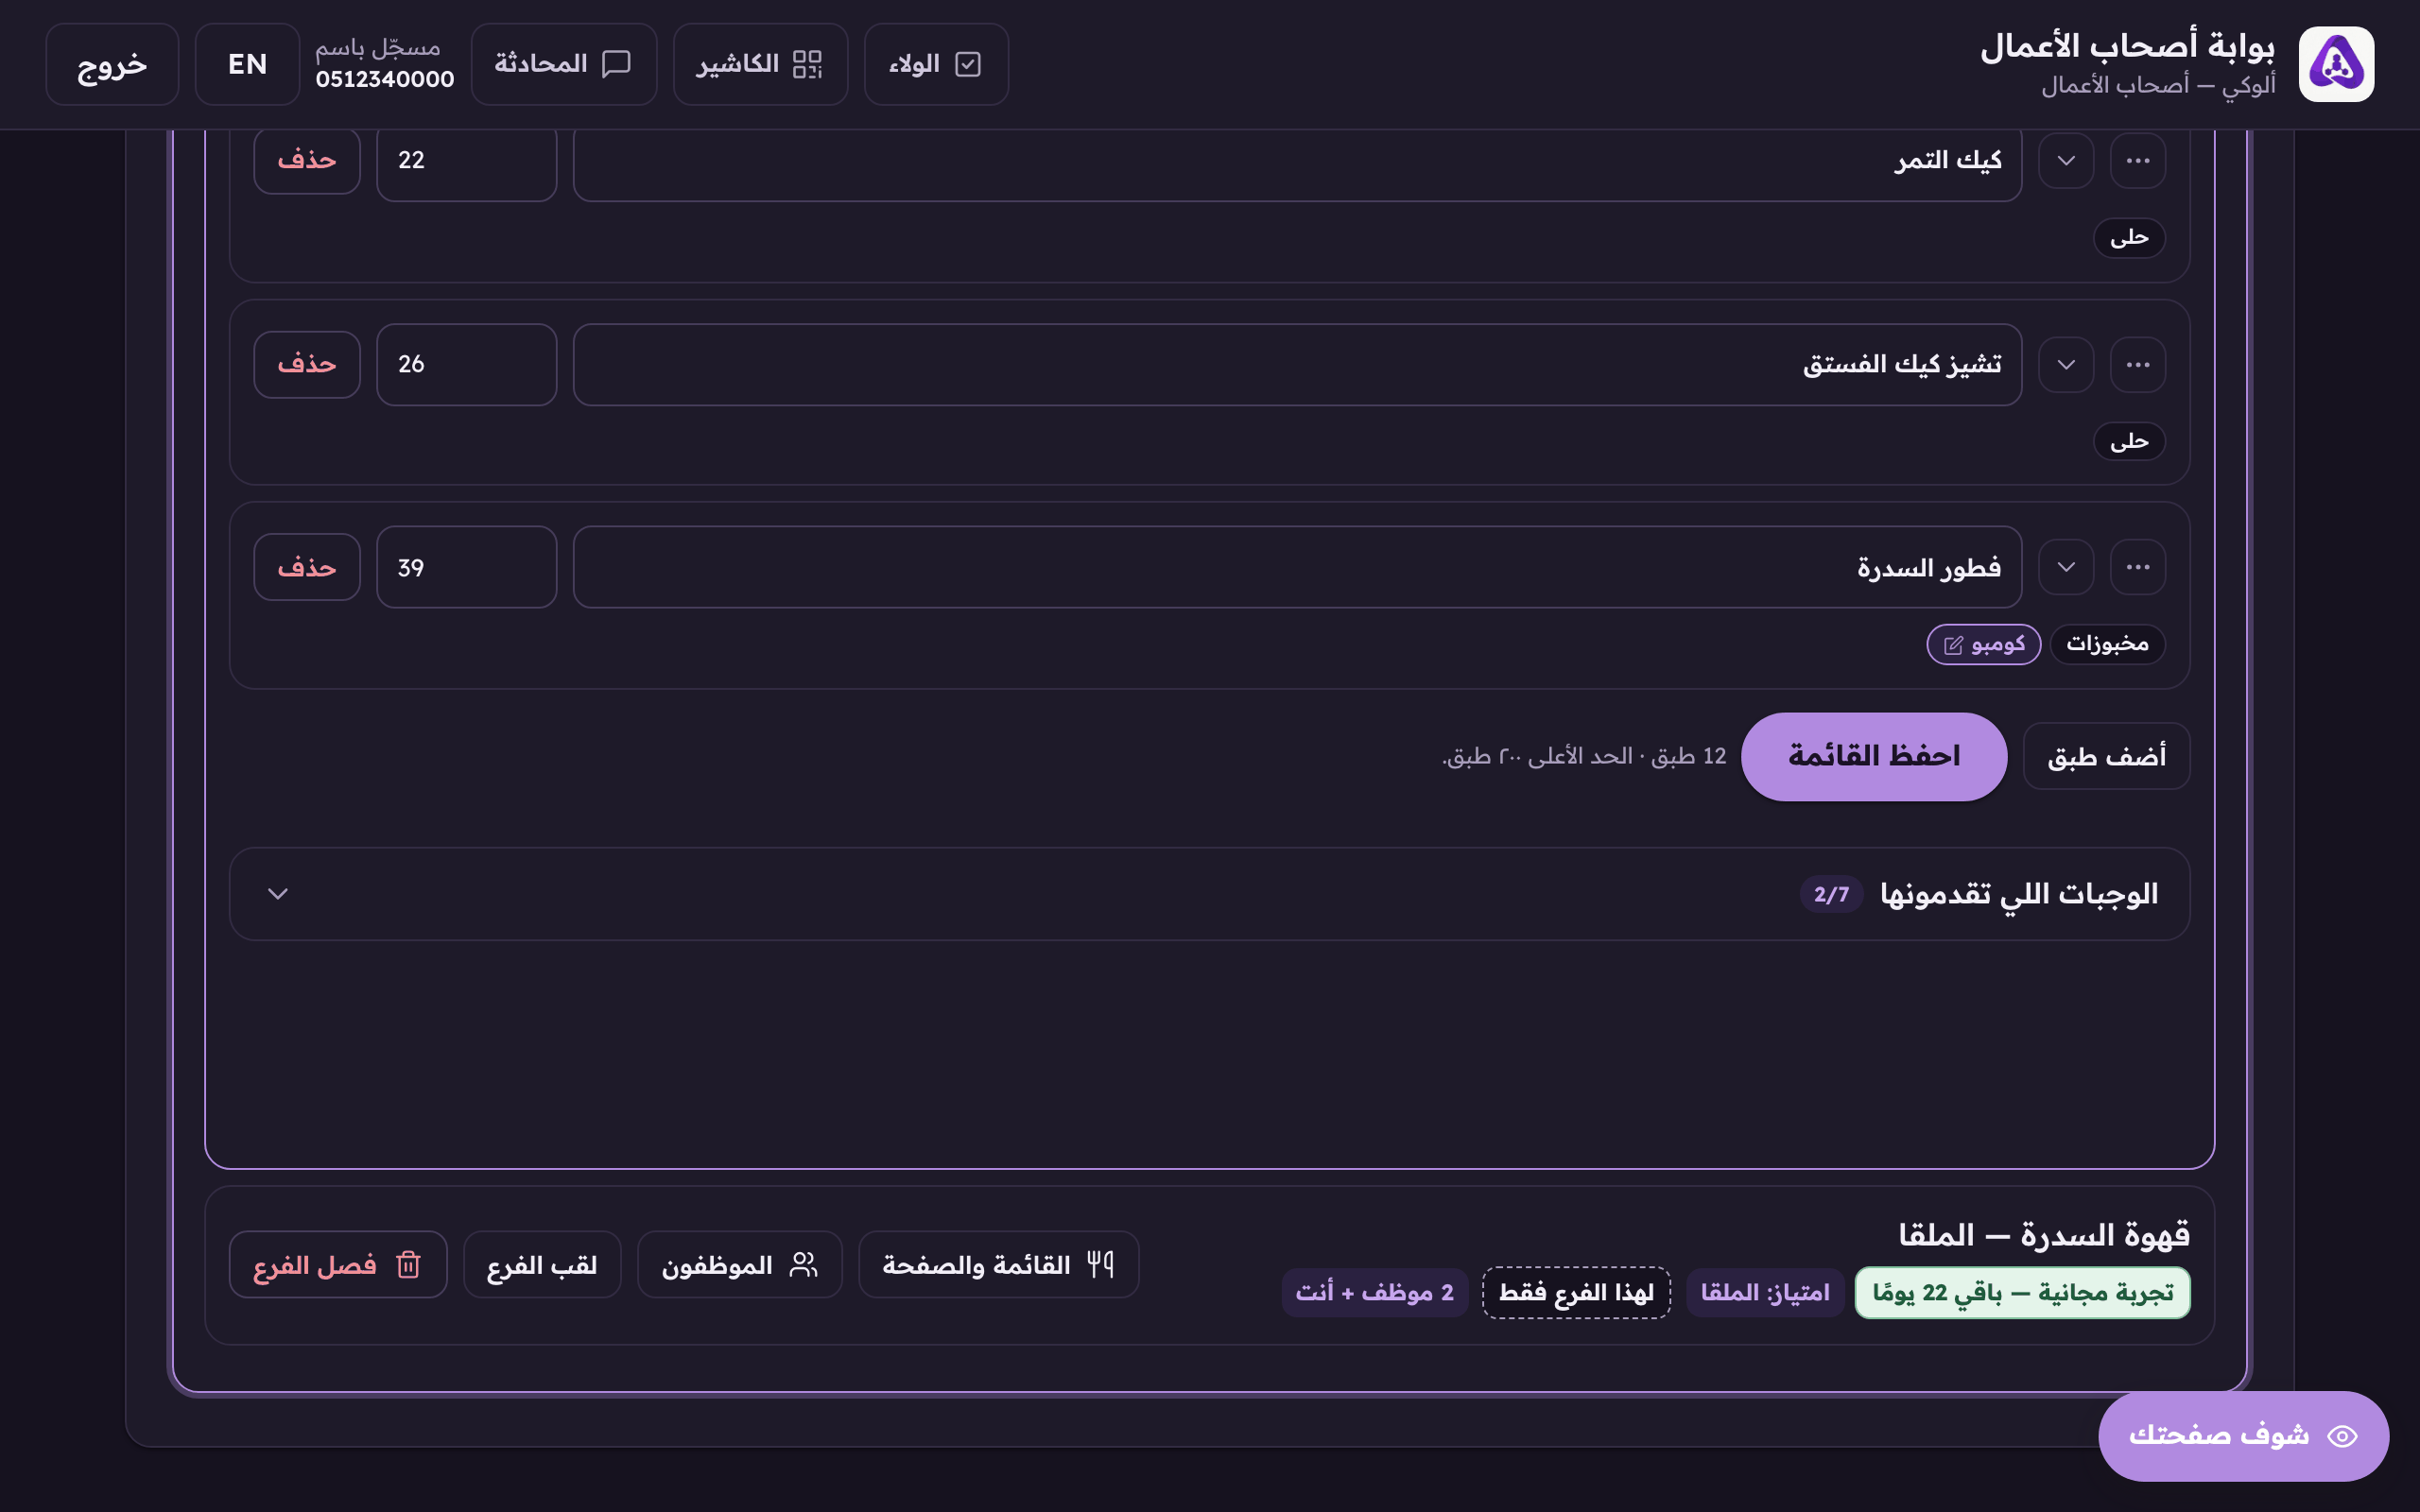
«Add dish» appends an empty row to the end of the menu. - Type the Arabic name. This is what your customer reads and what Aloke hears, and it is the only required field. Everything else is optional.
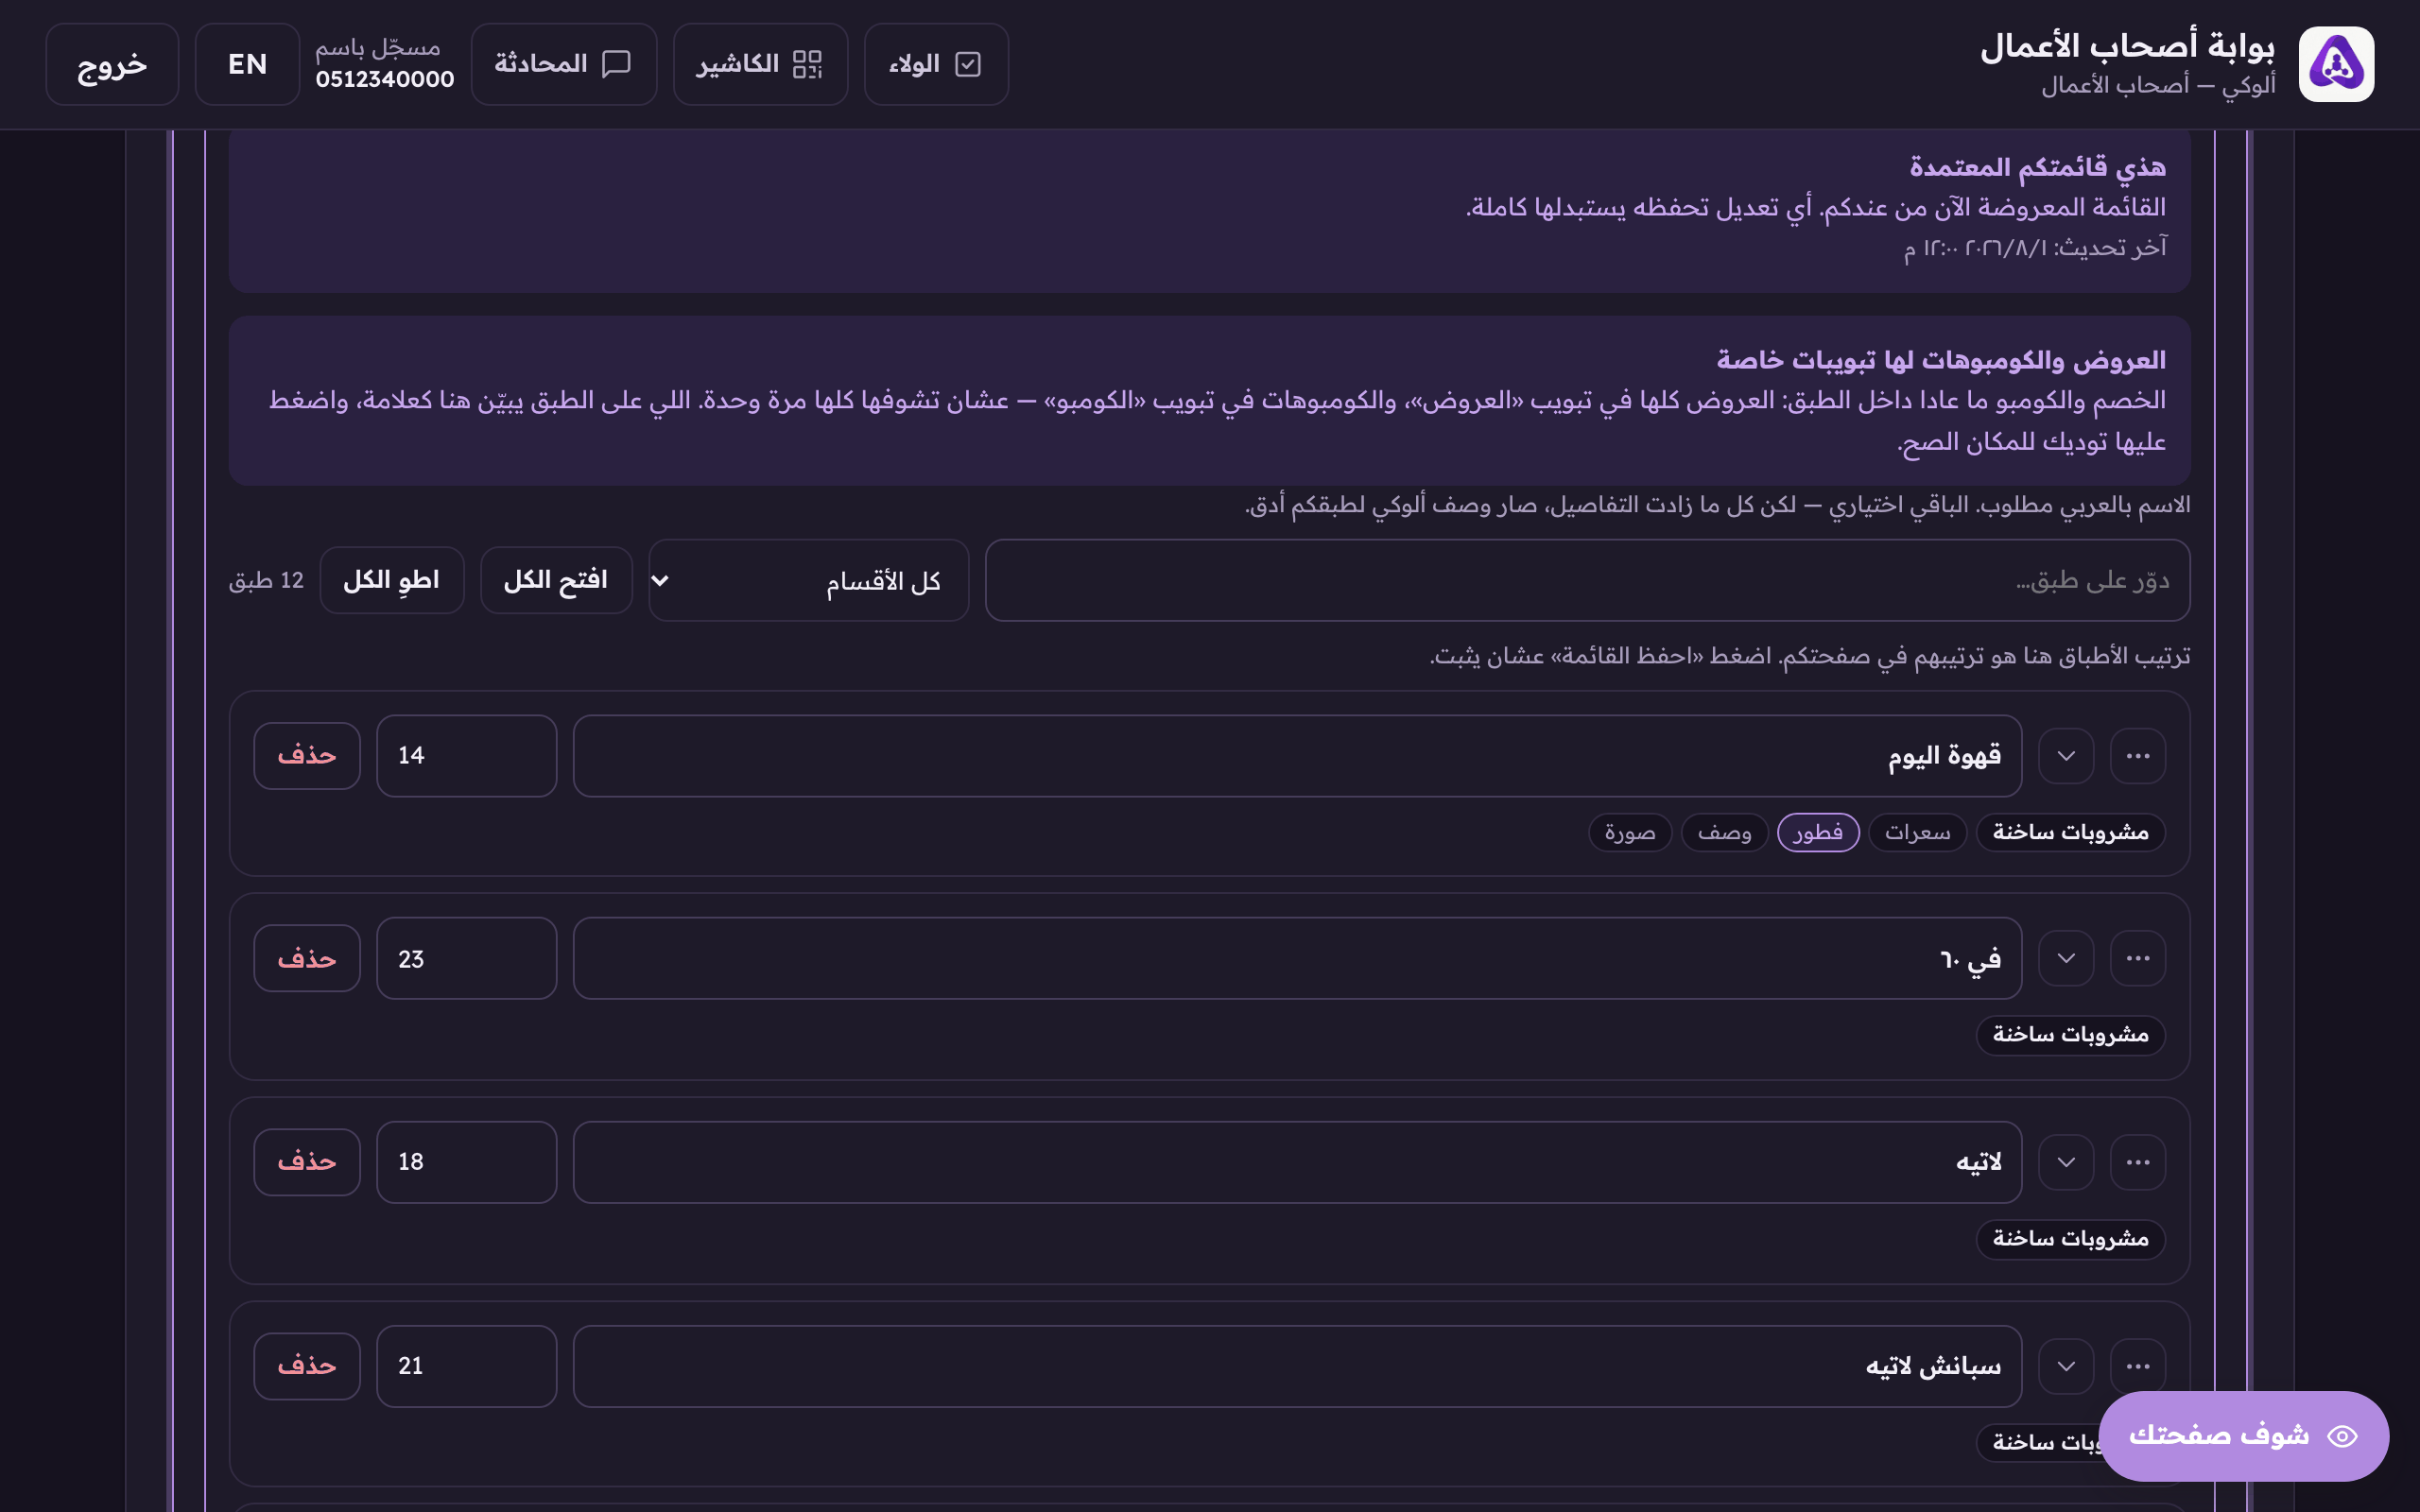
The dish name in Arabic. This is what your customer reads and what Aloke hears. - Enter the price in riyals.
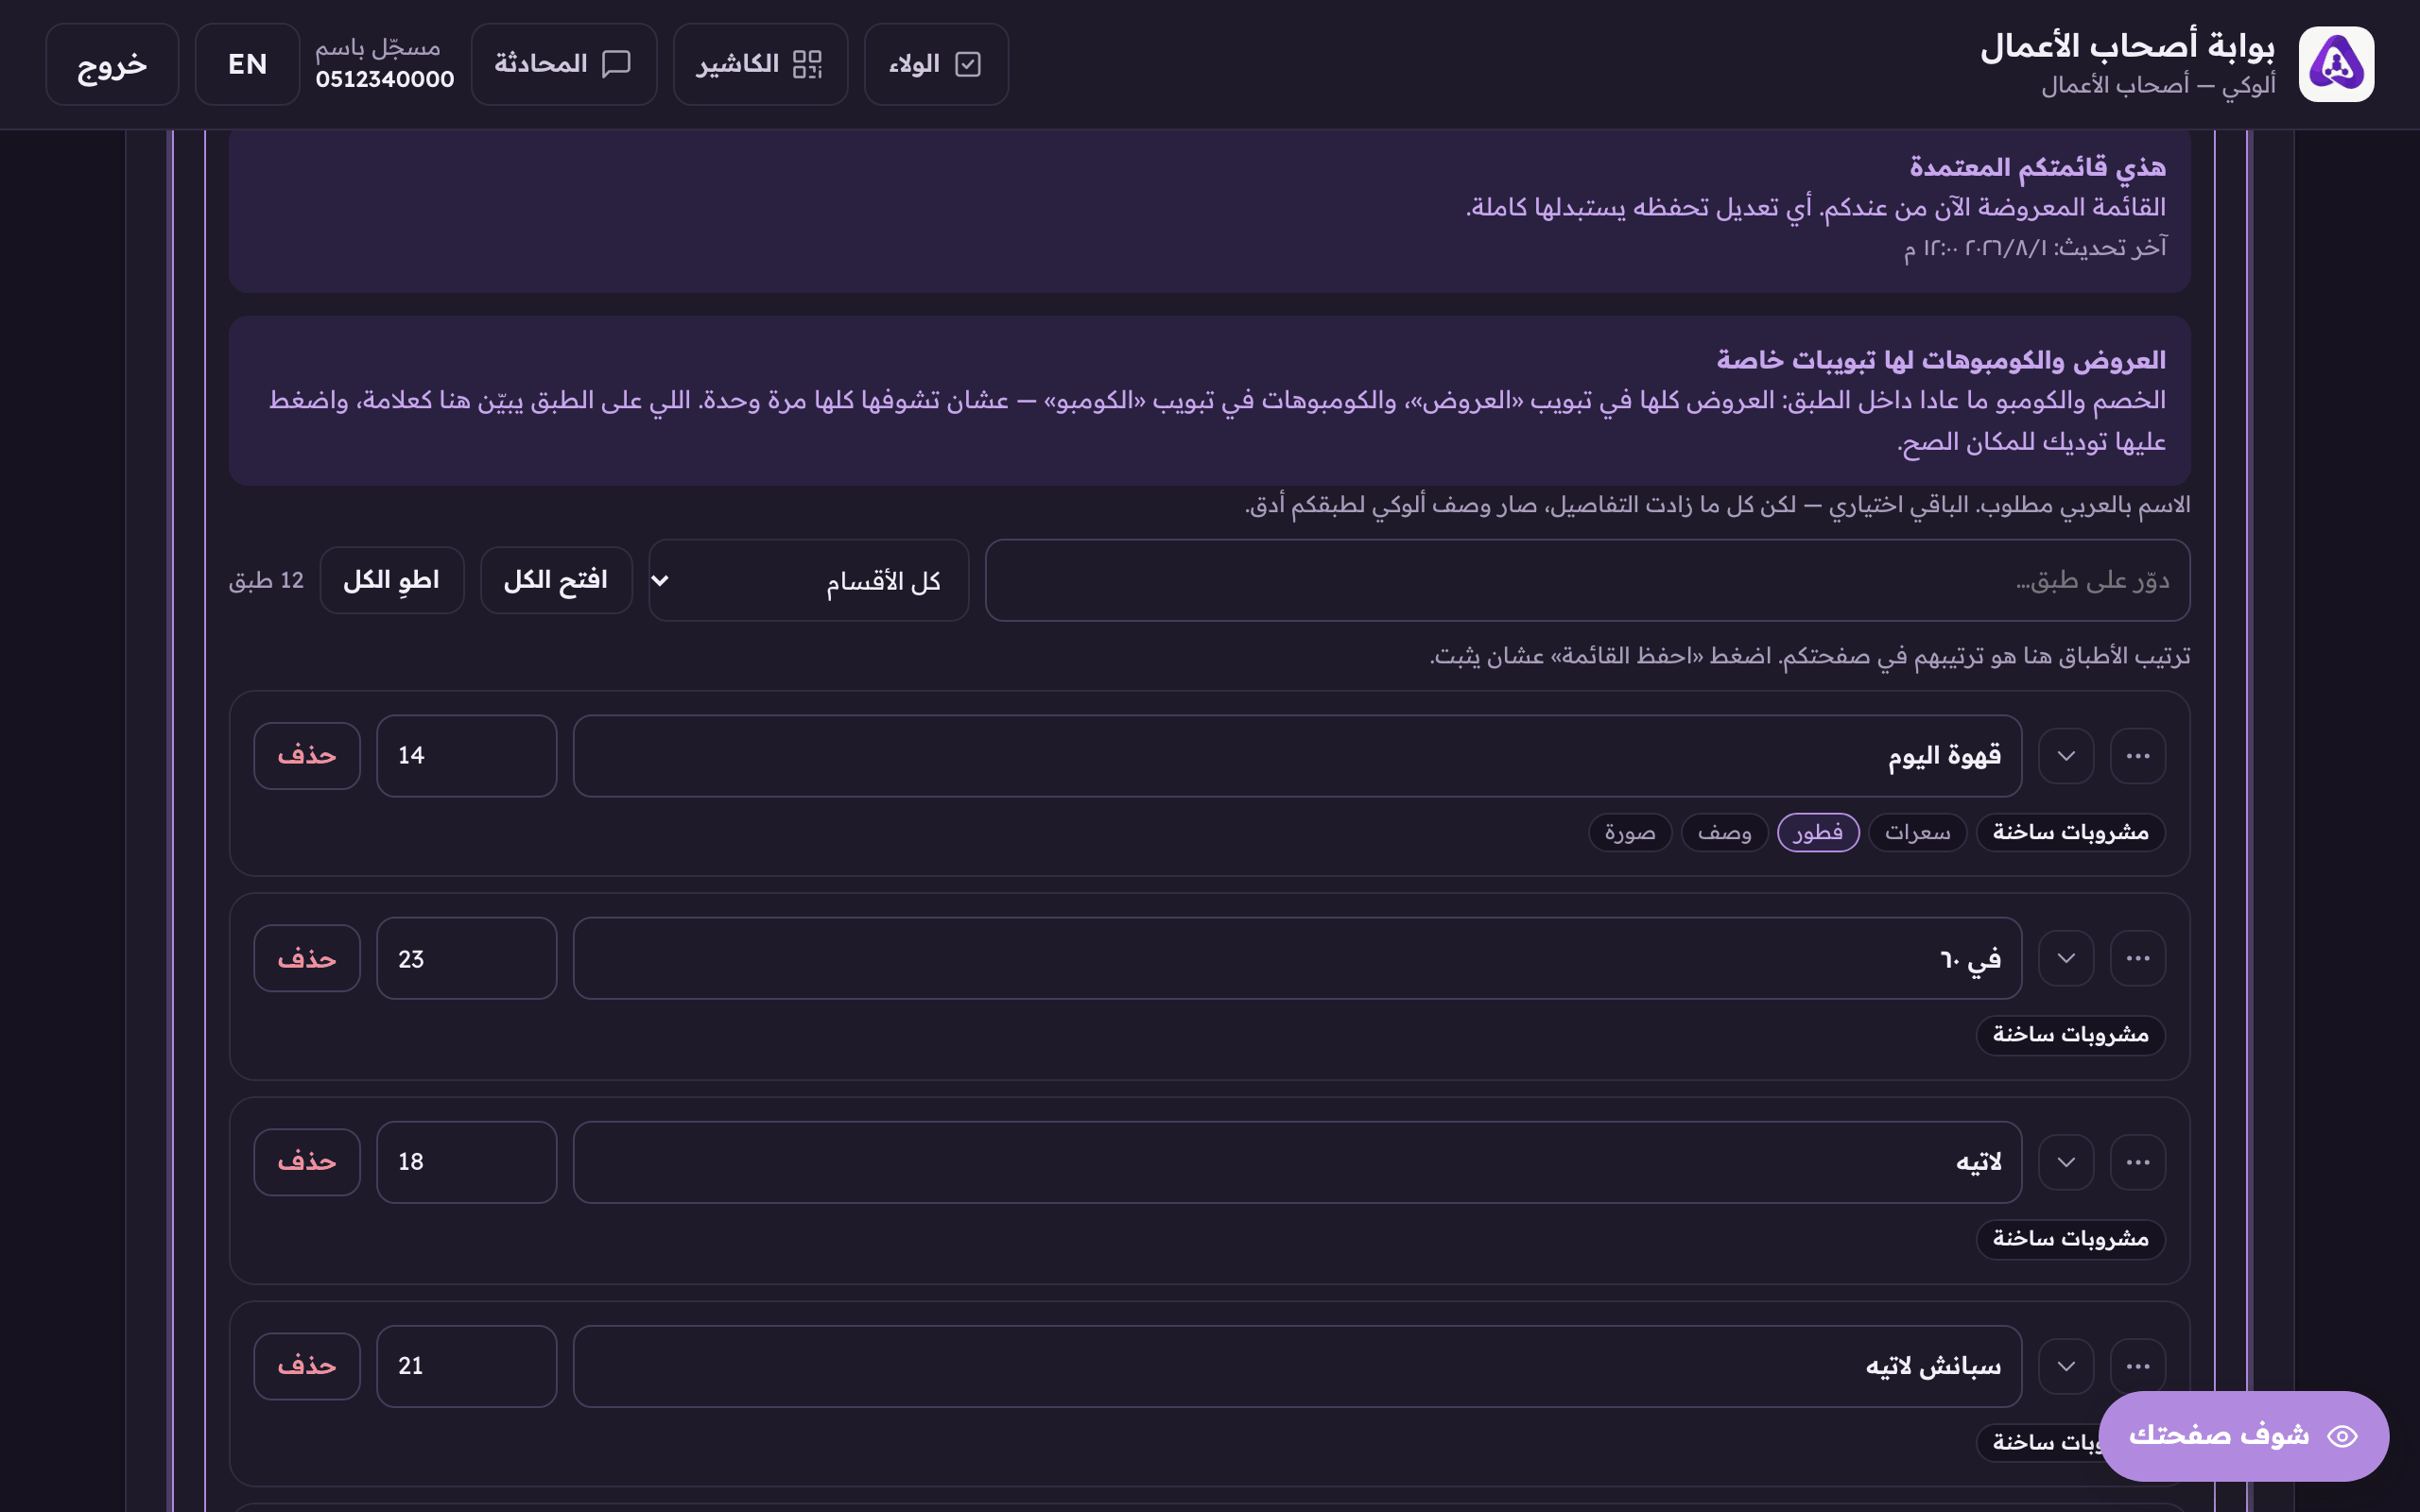
The price in riyals. An item with no price cannot be rung up on the mini-POS. - Press the chevron on the row to open the dish's details: its section, photo, options, calories and allergens.
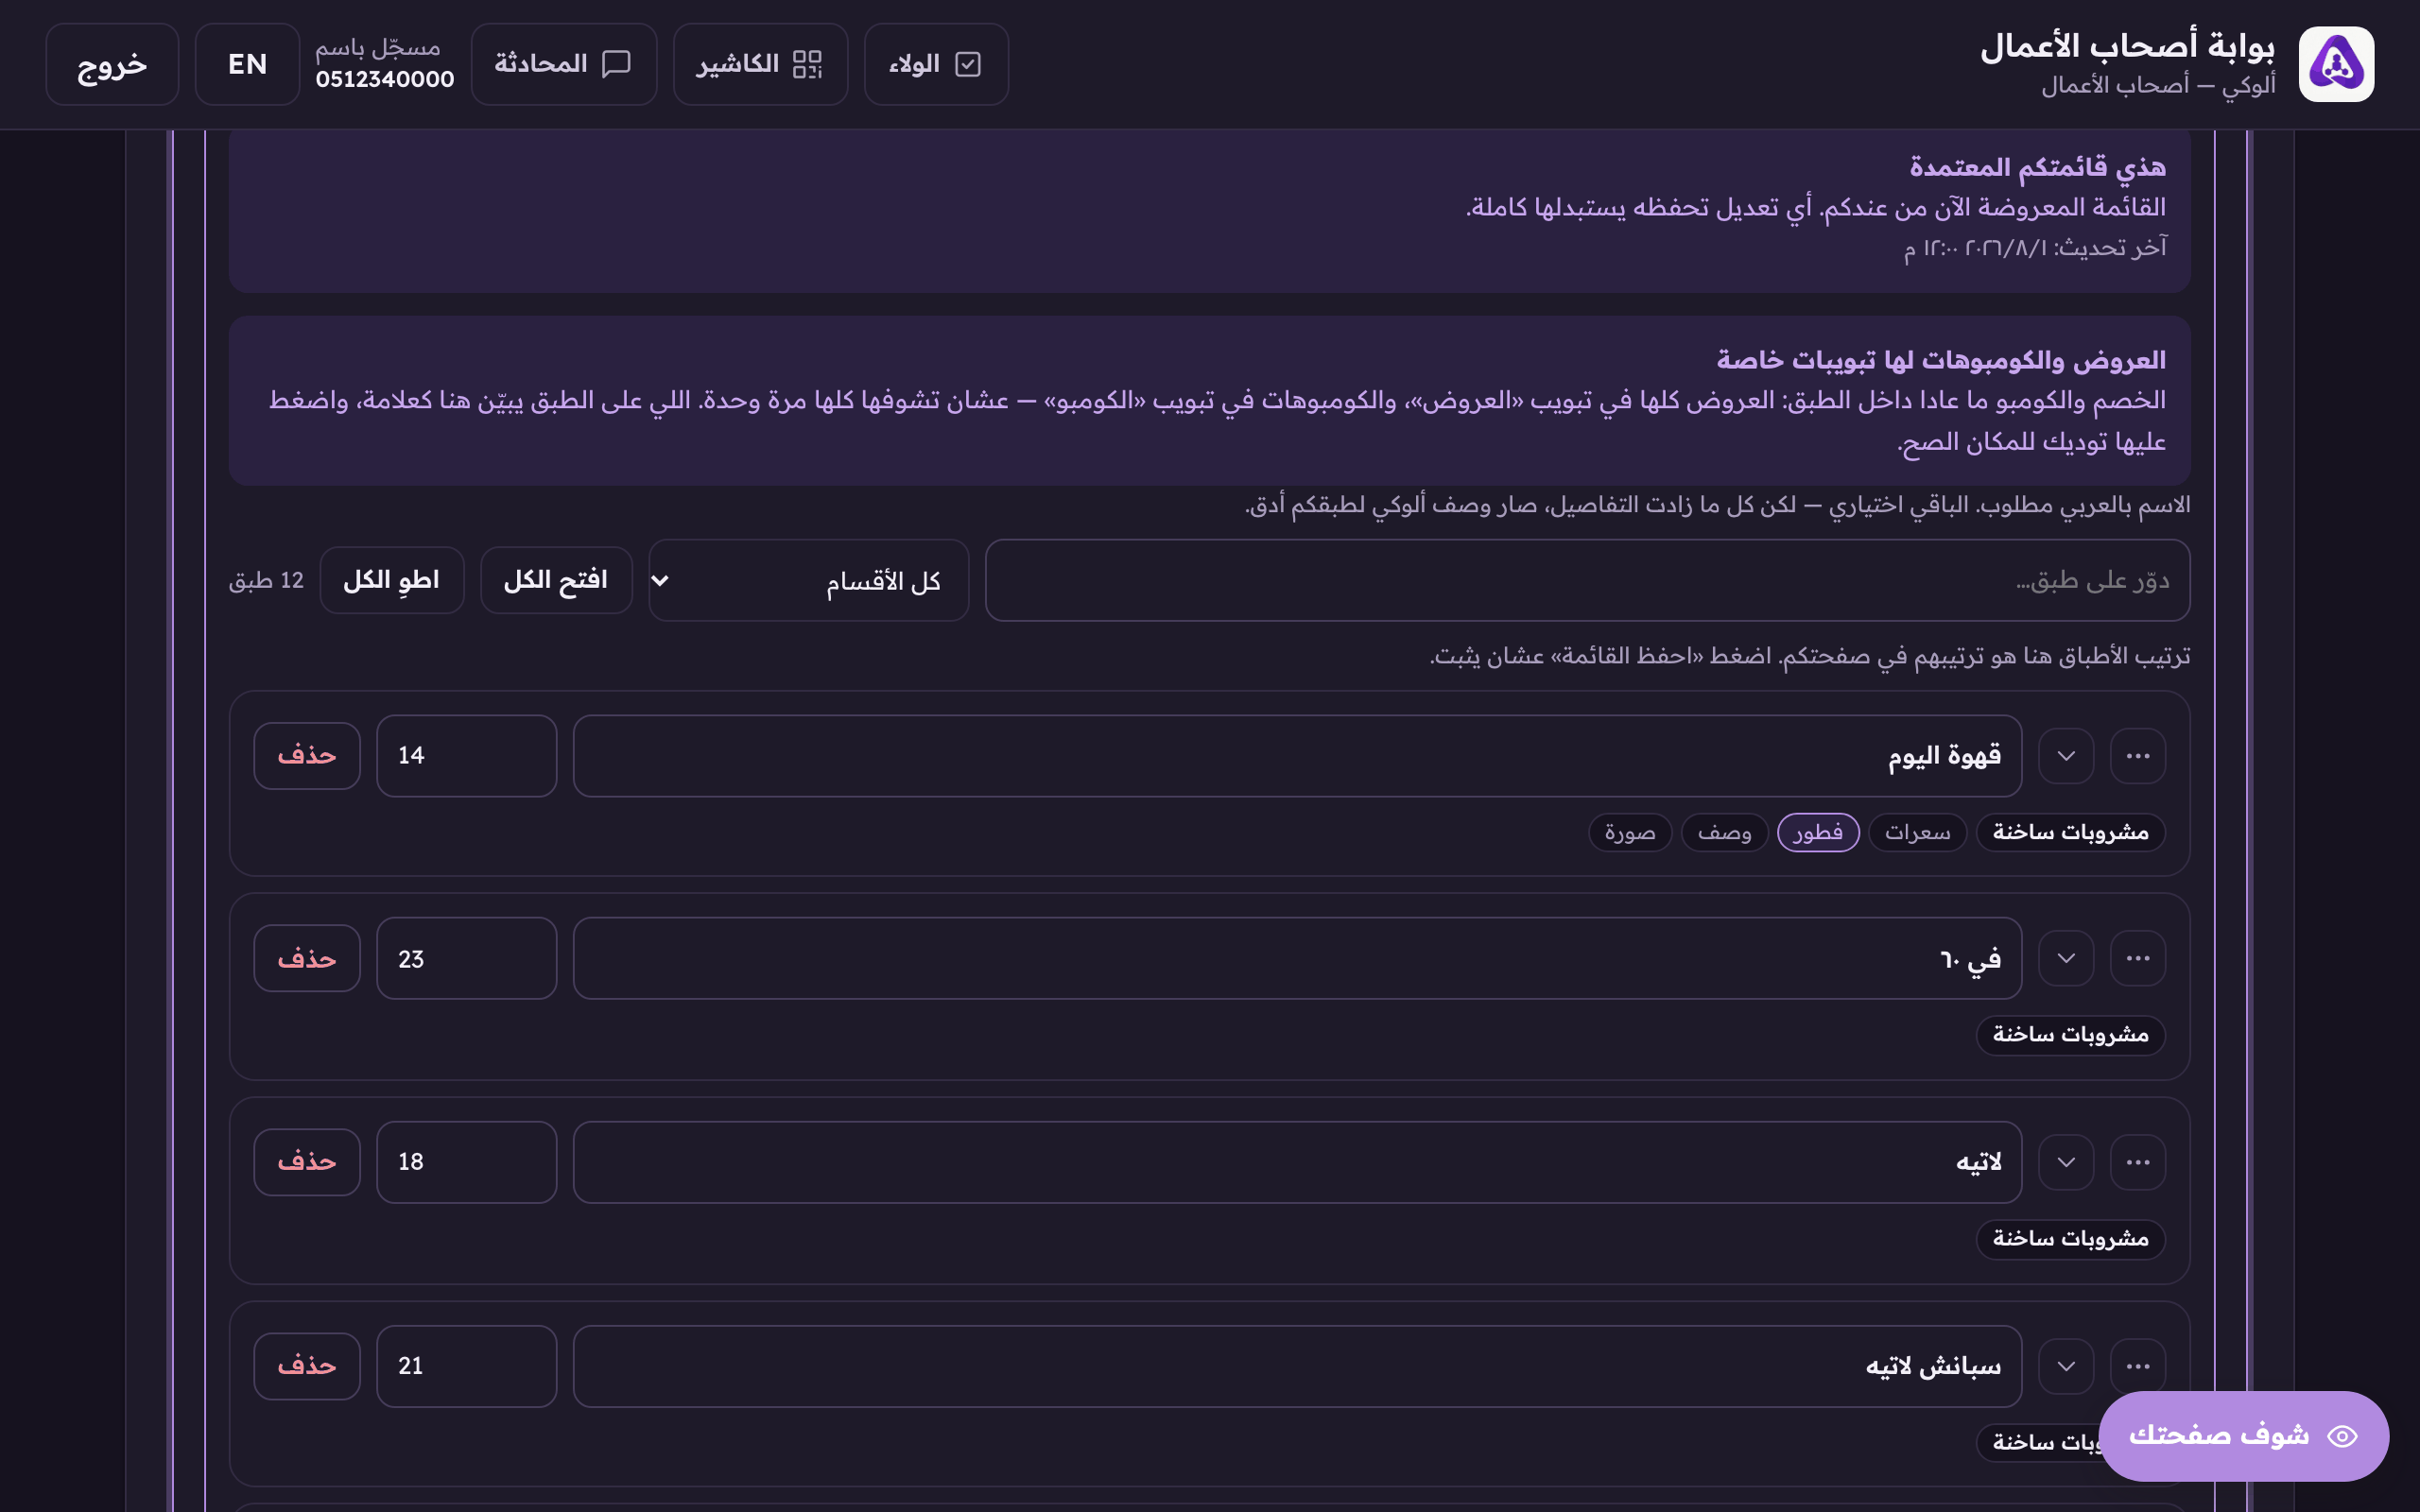
Press the chevron to open the dish's details: section, photo, options and allergens. - Choose the section it files under. Pick one of your registered sections, or «New section» and type it.
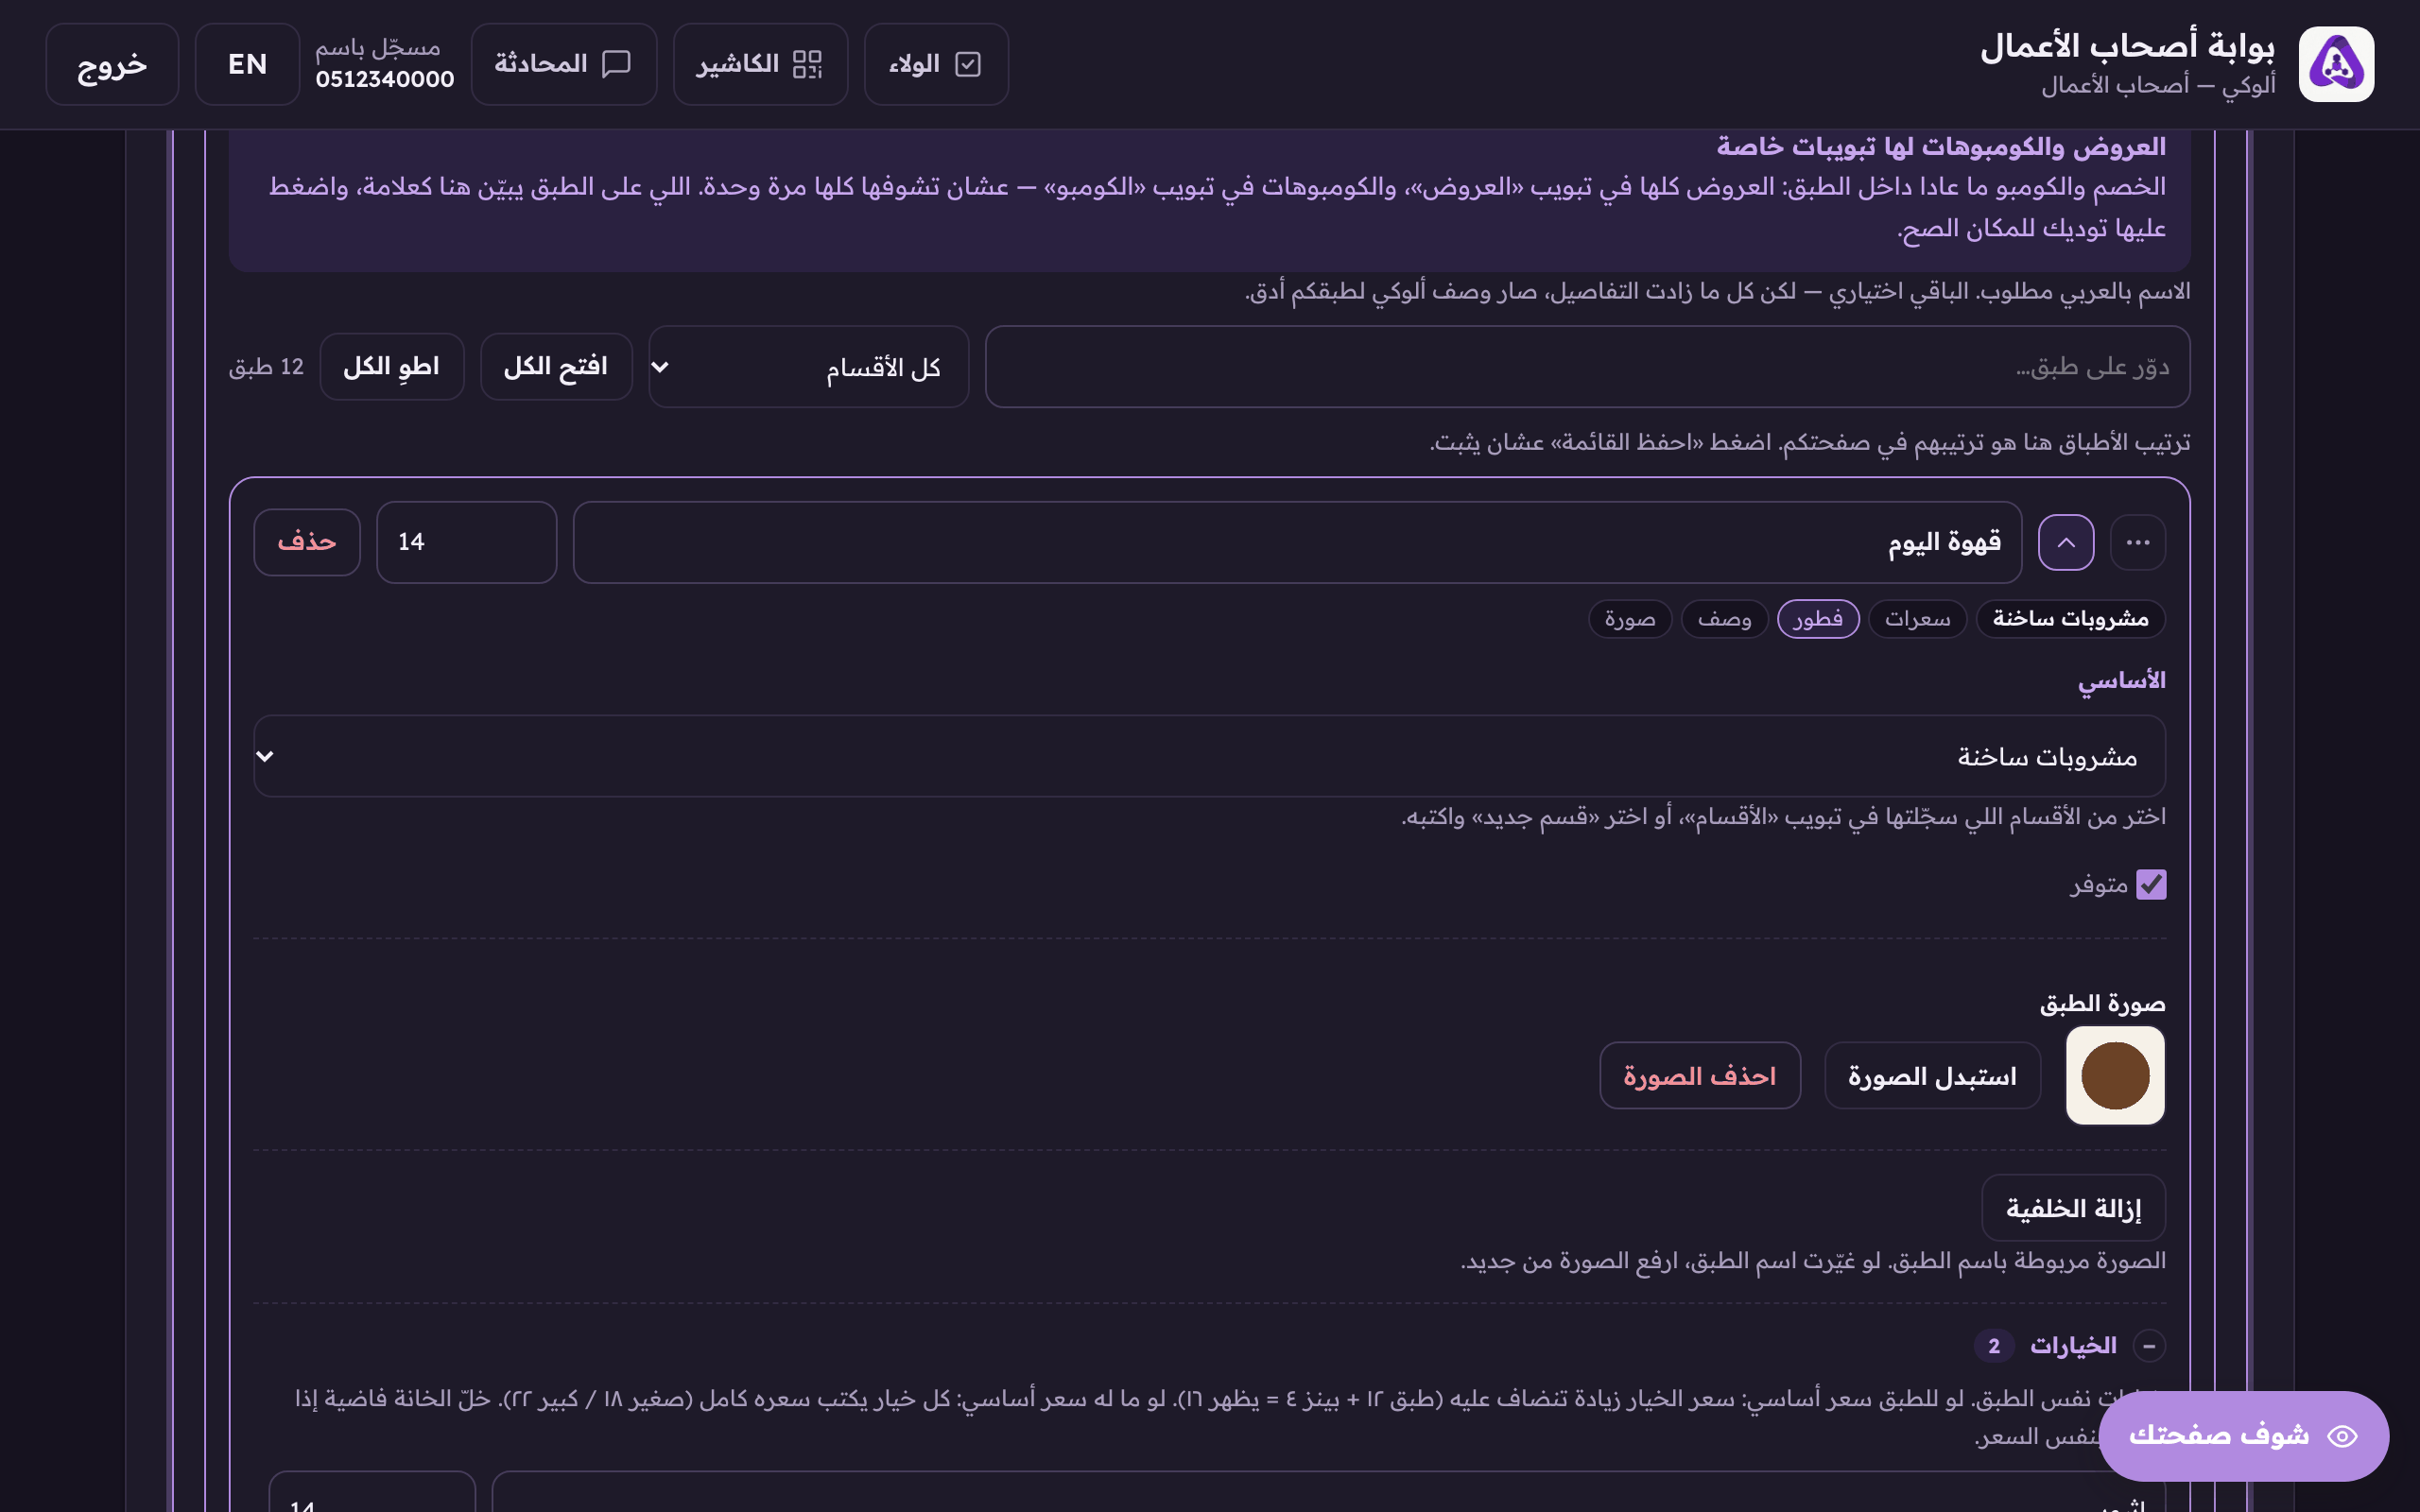
Which section this dish files under on your page. - Write a short description, ingredients or size. Aloke reads it when somebody asks about the dish.
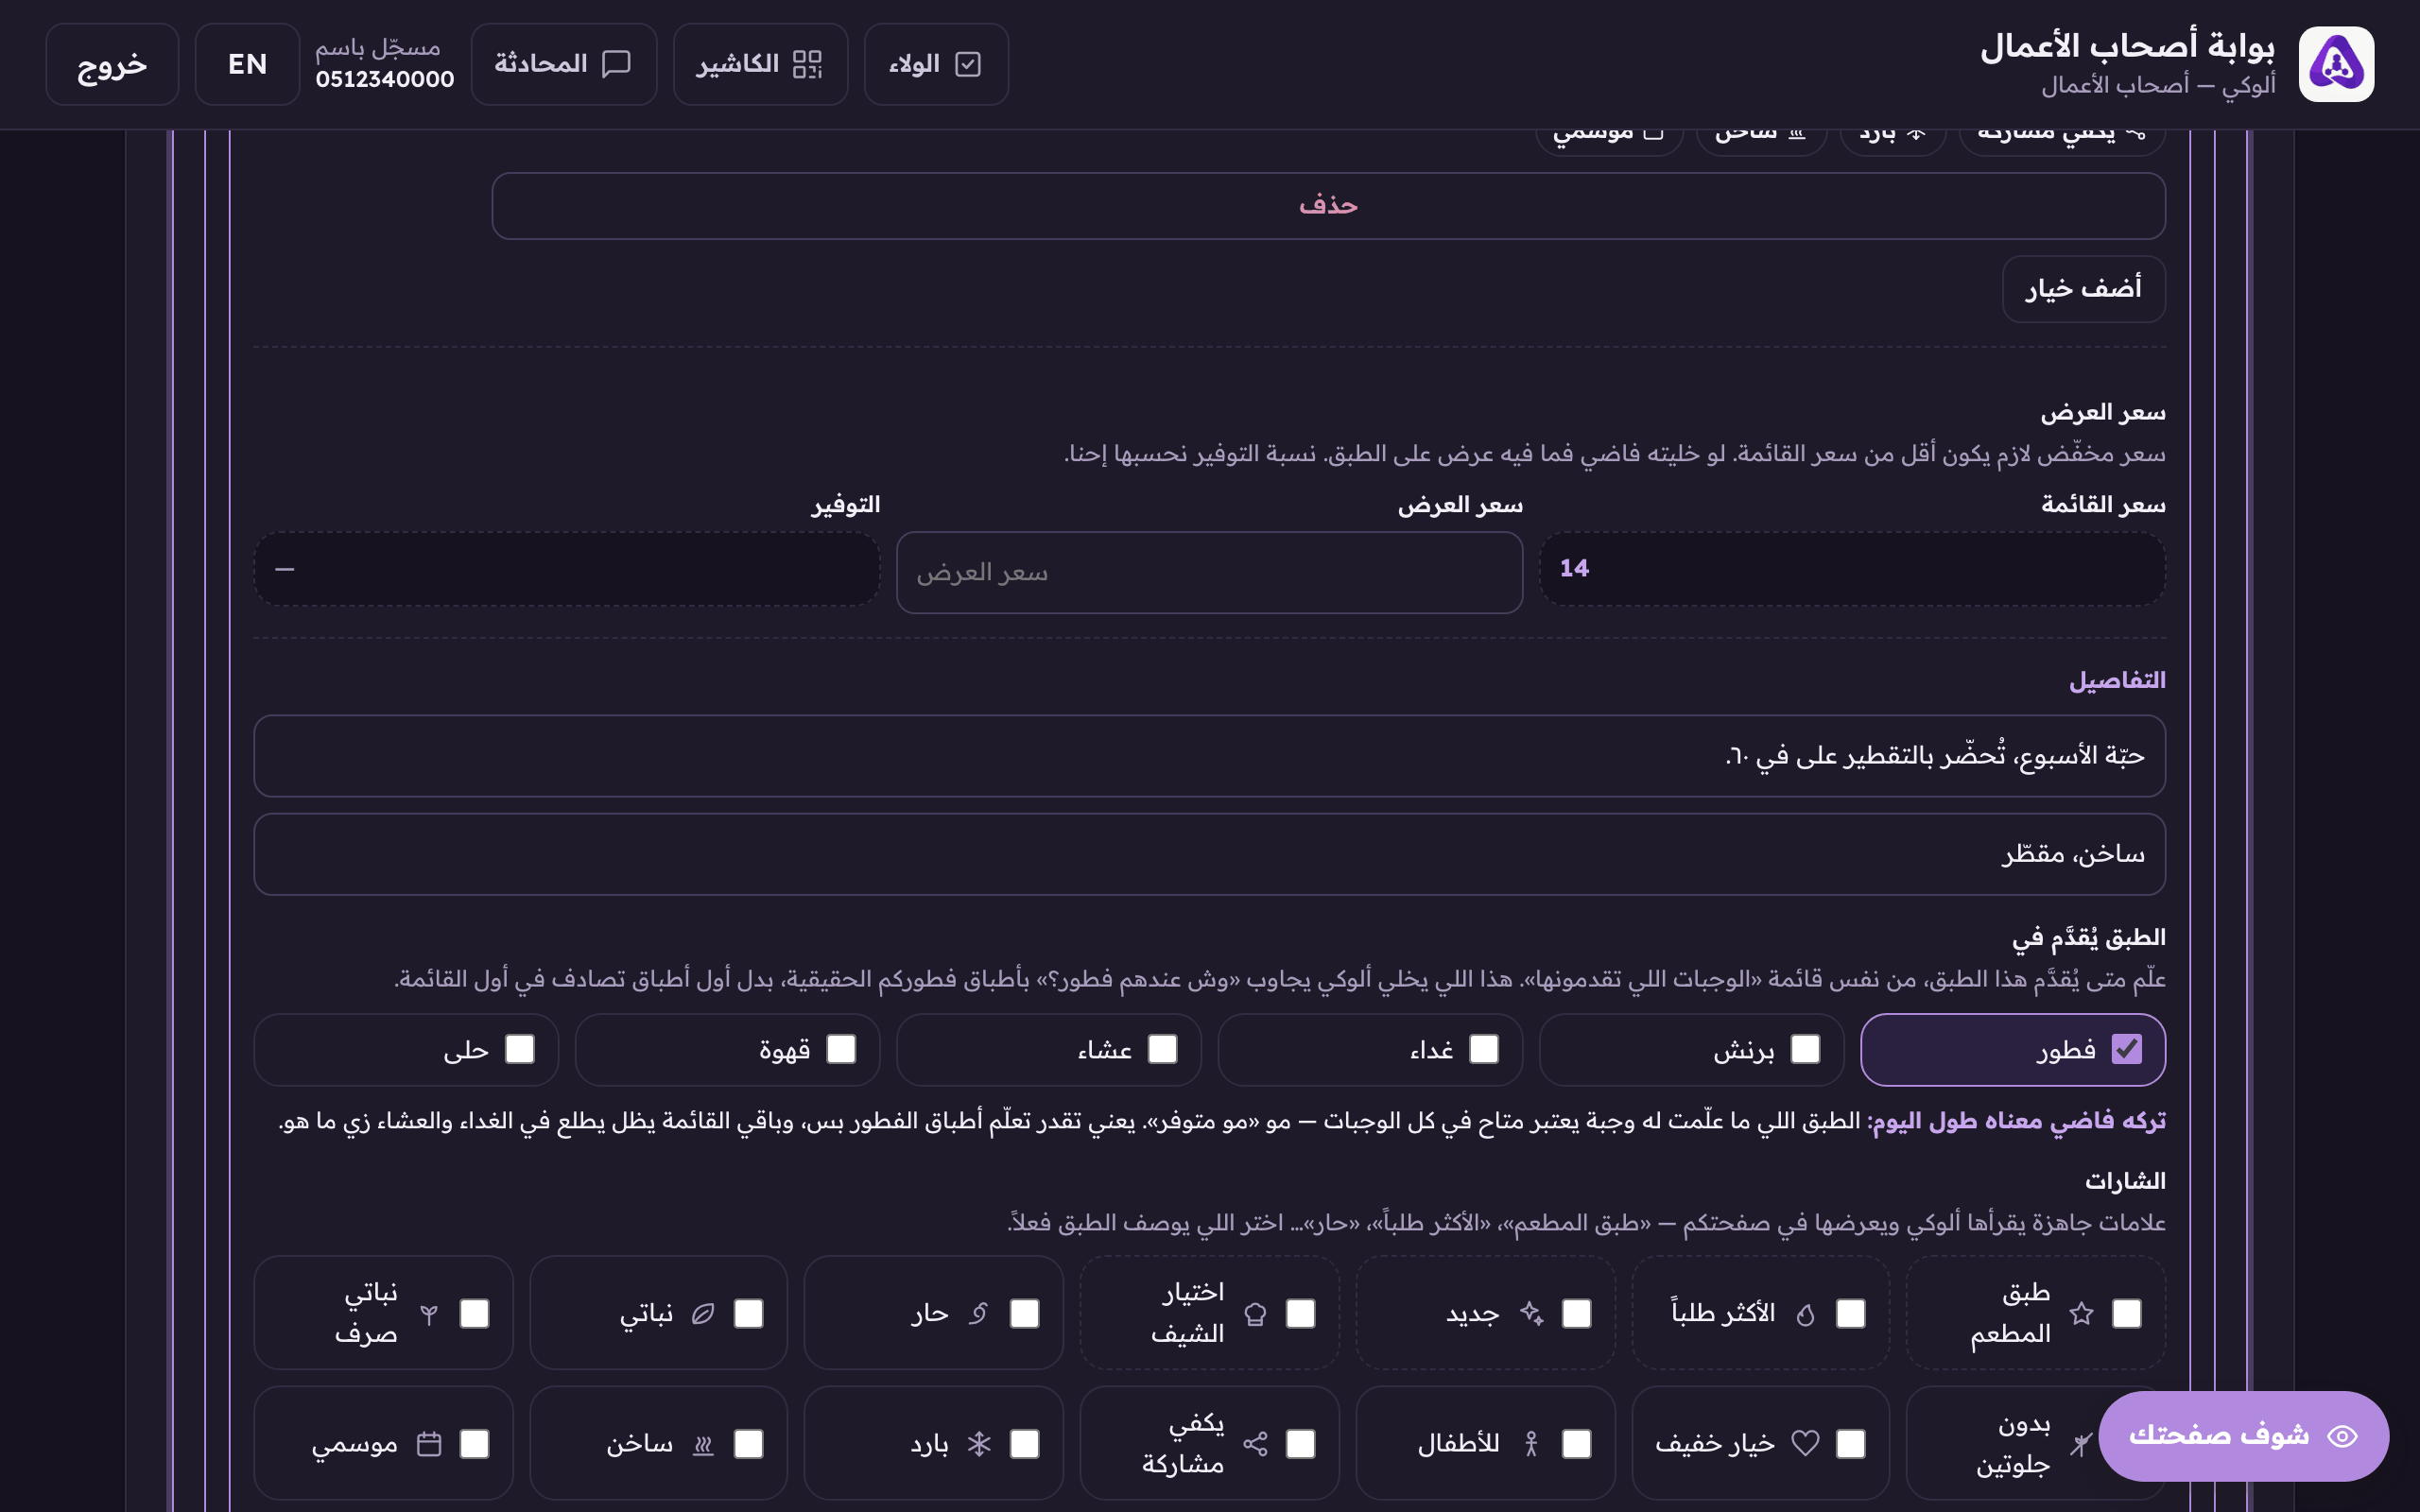
A short description, ingredients or size. Aloke reads it when someone asks about the dish. - Tick which meals this dish is served at. A dish with no meal ticked counts as available at ALL of them, not as unavailable.
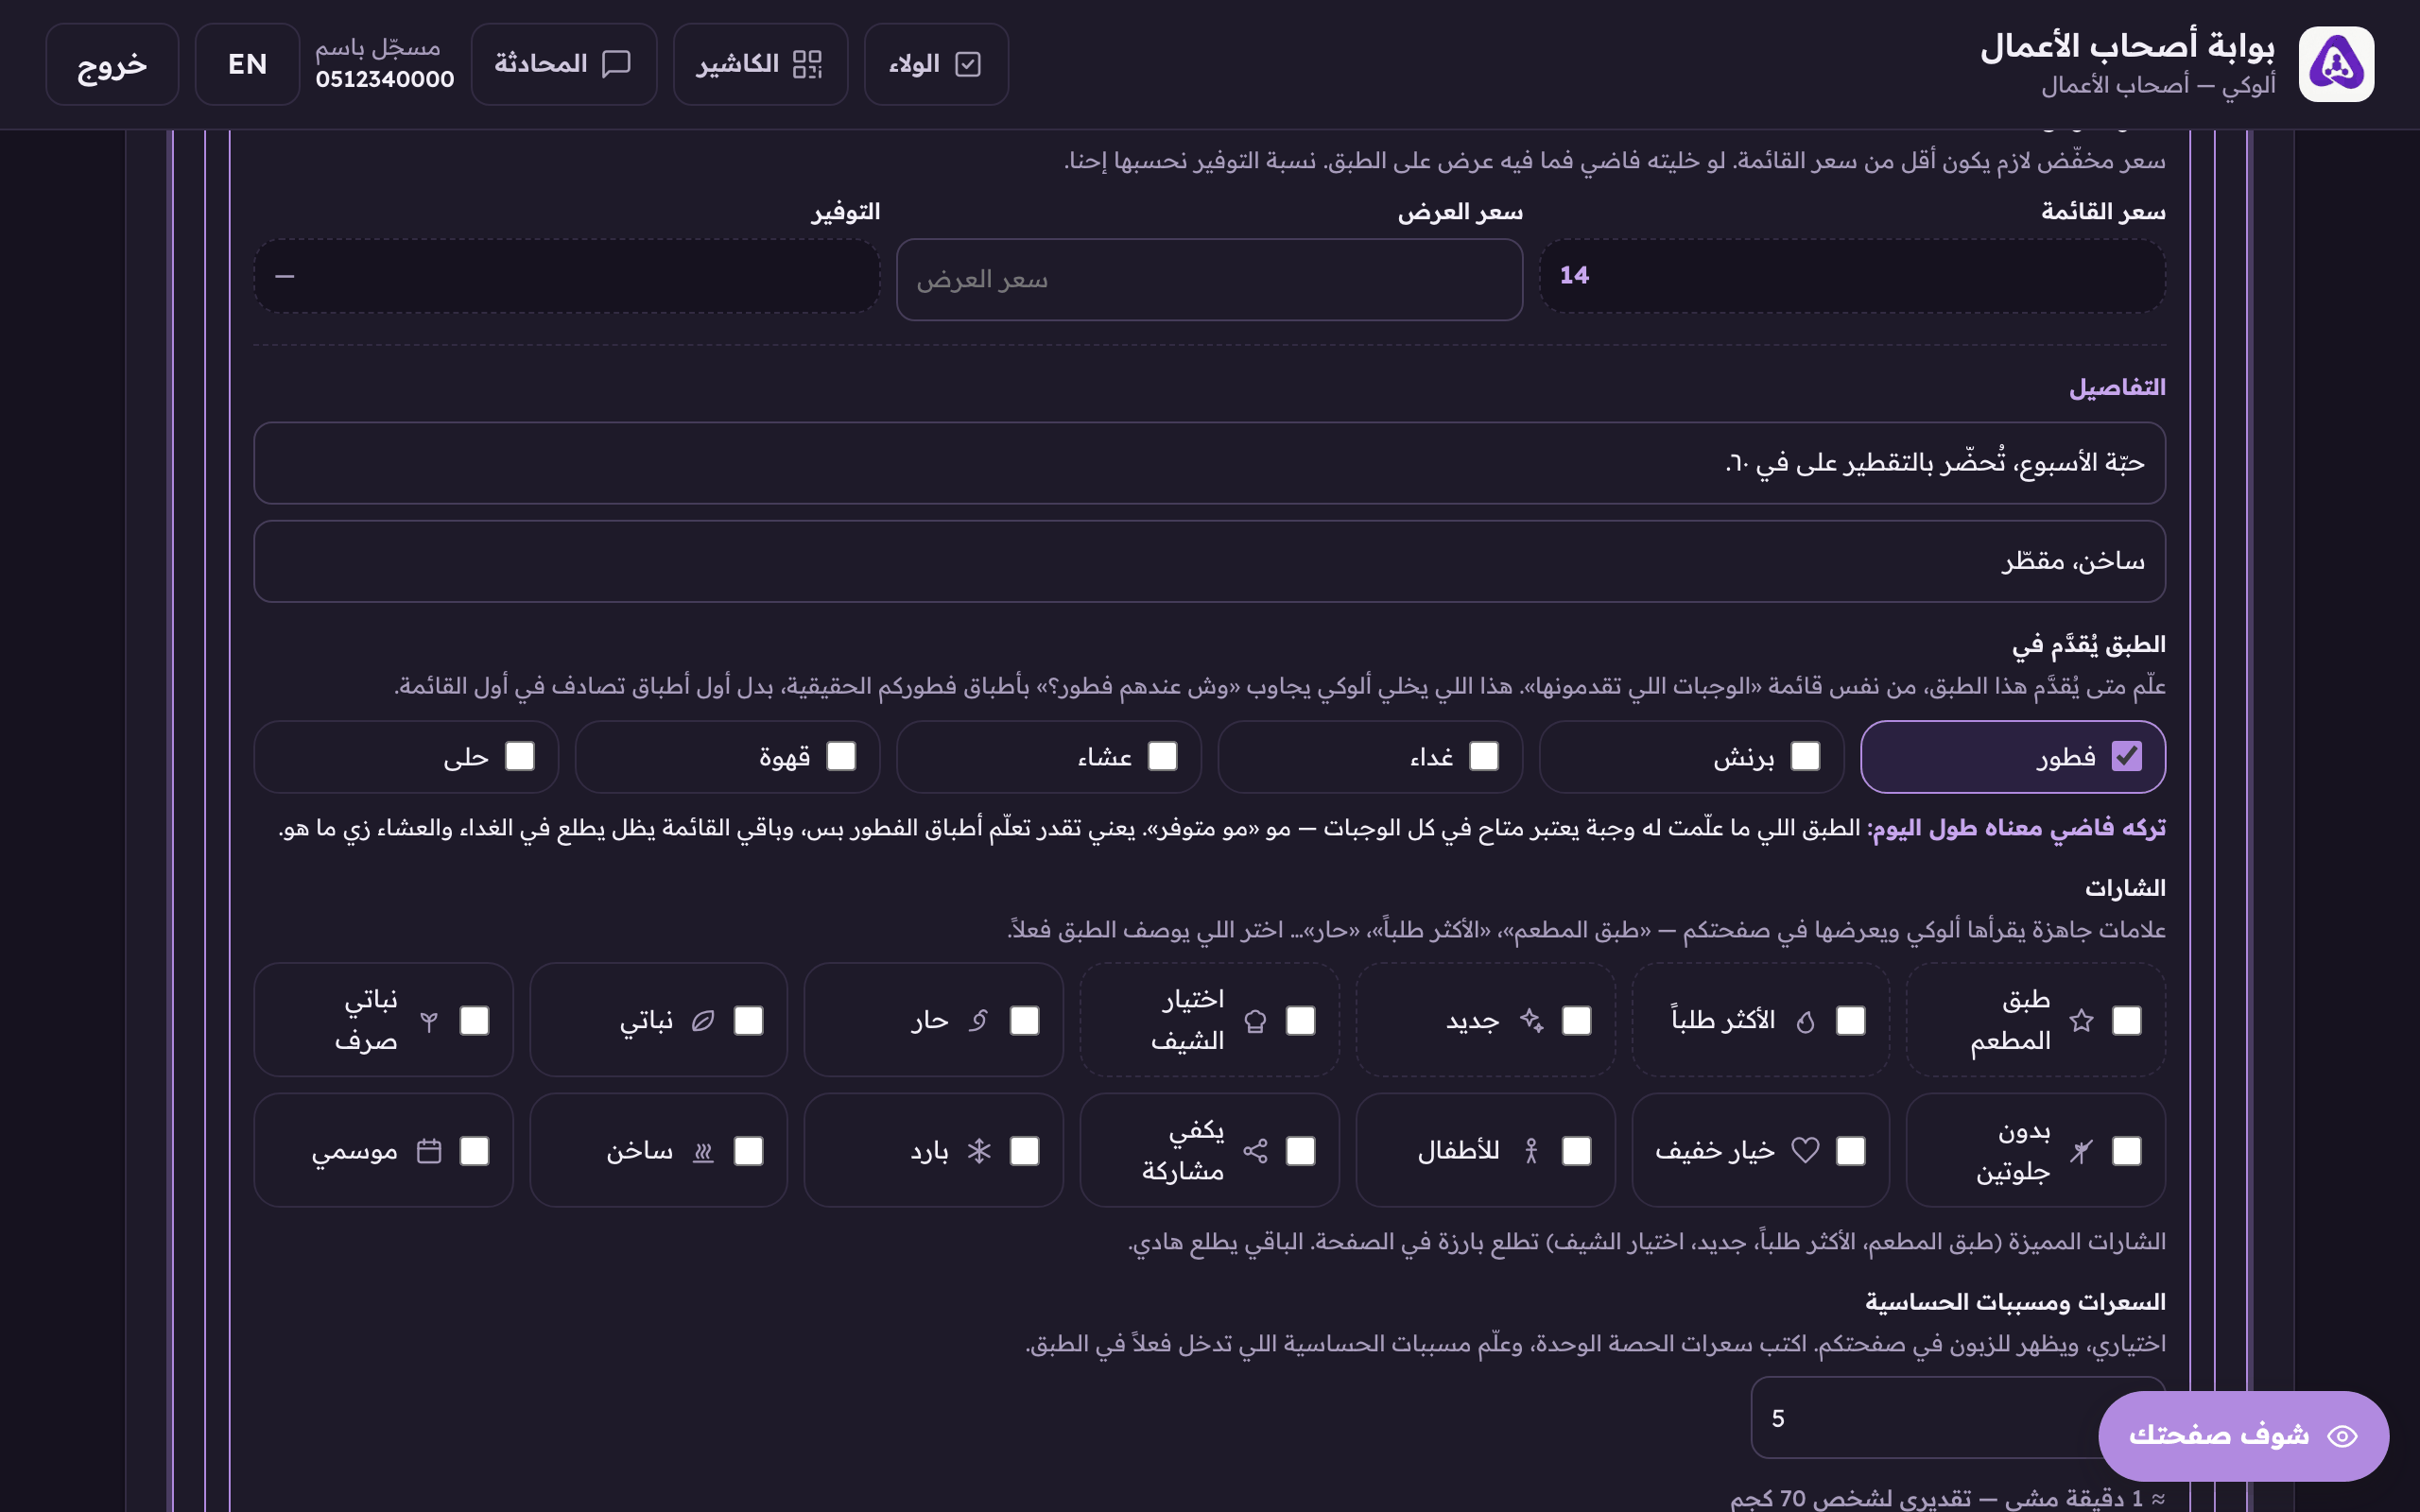
«Served at», tick the meals this dish is served for. A dish with nothing ticked counts as available at all of them. - If a dish is off for good, untick «Available». It leaves your page and cannot be sold.
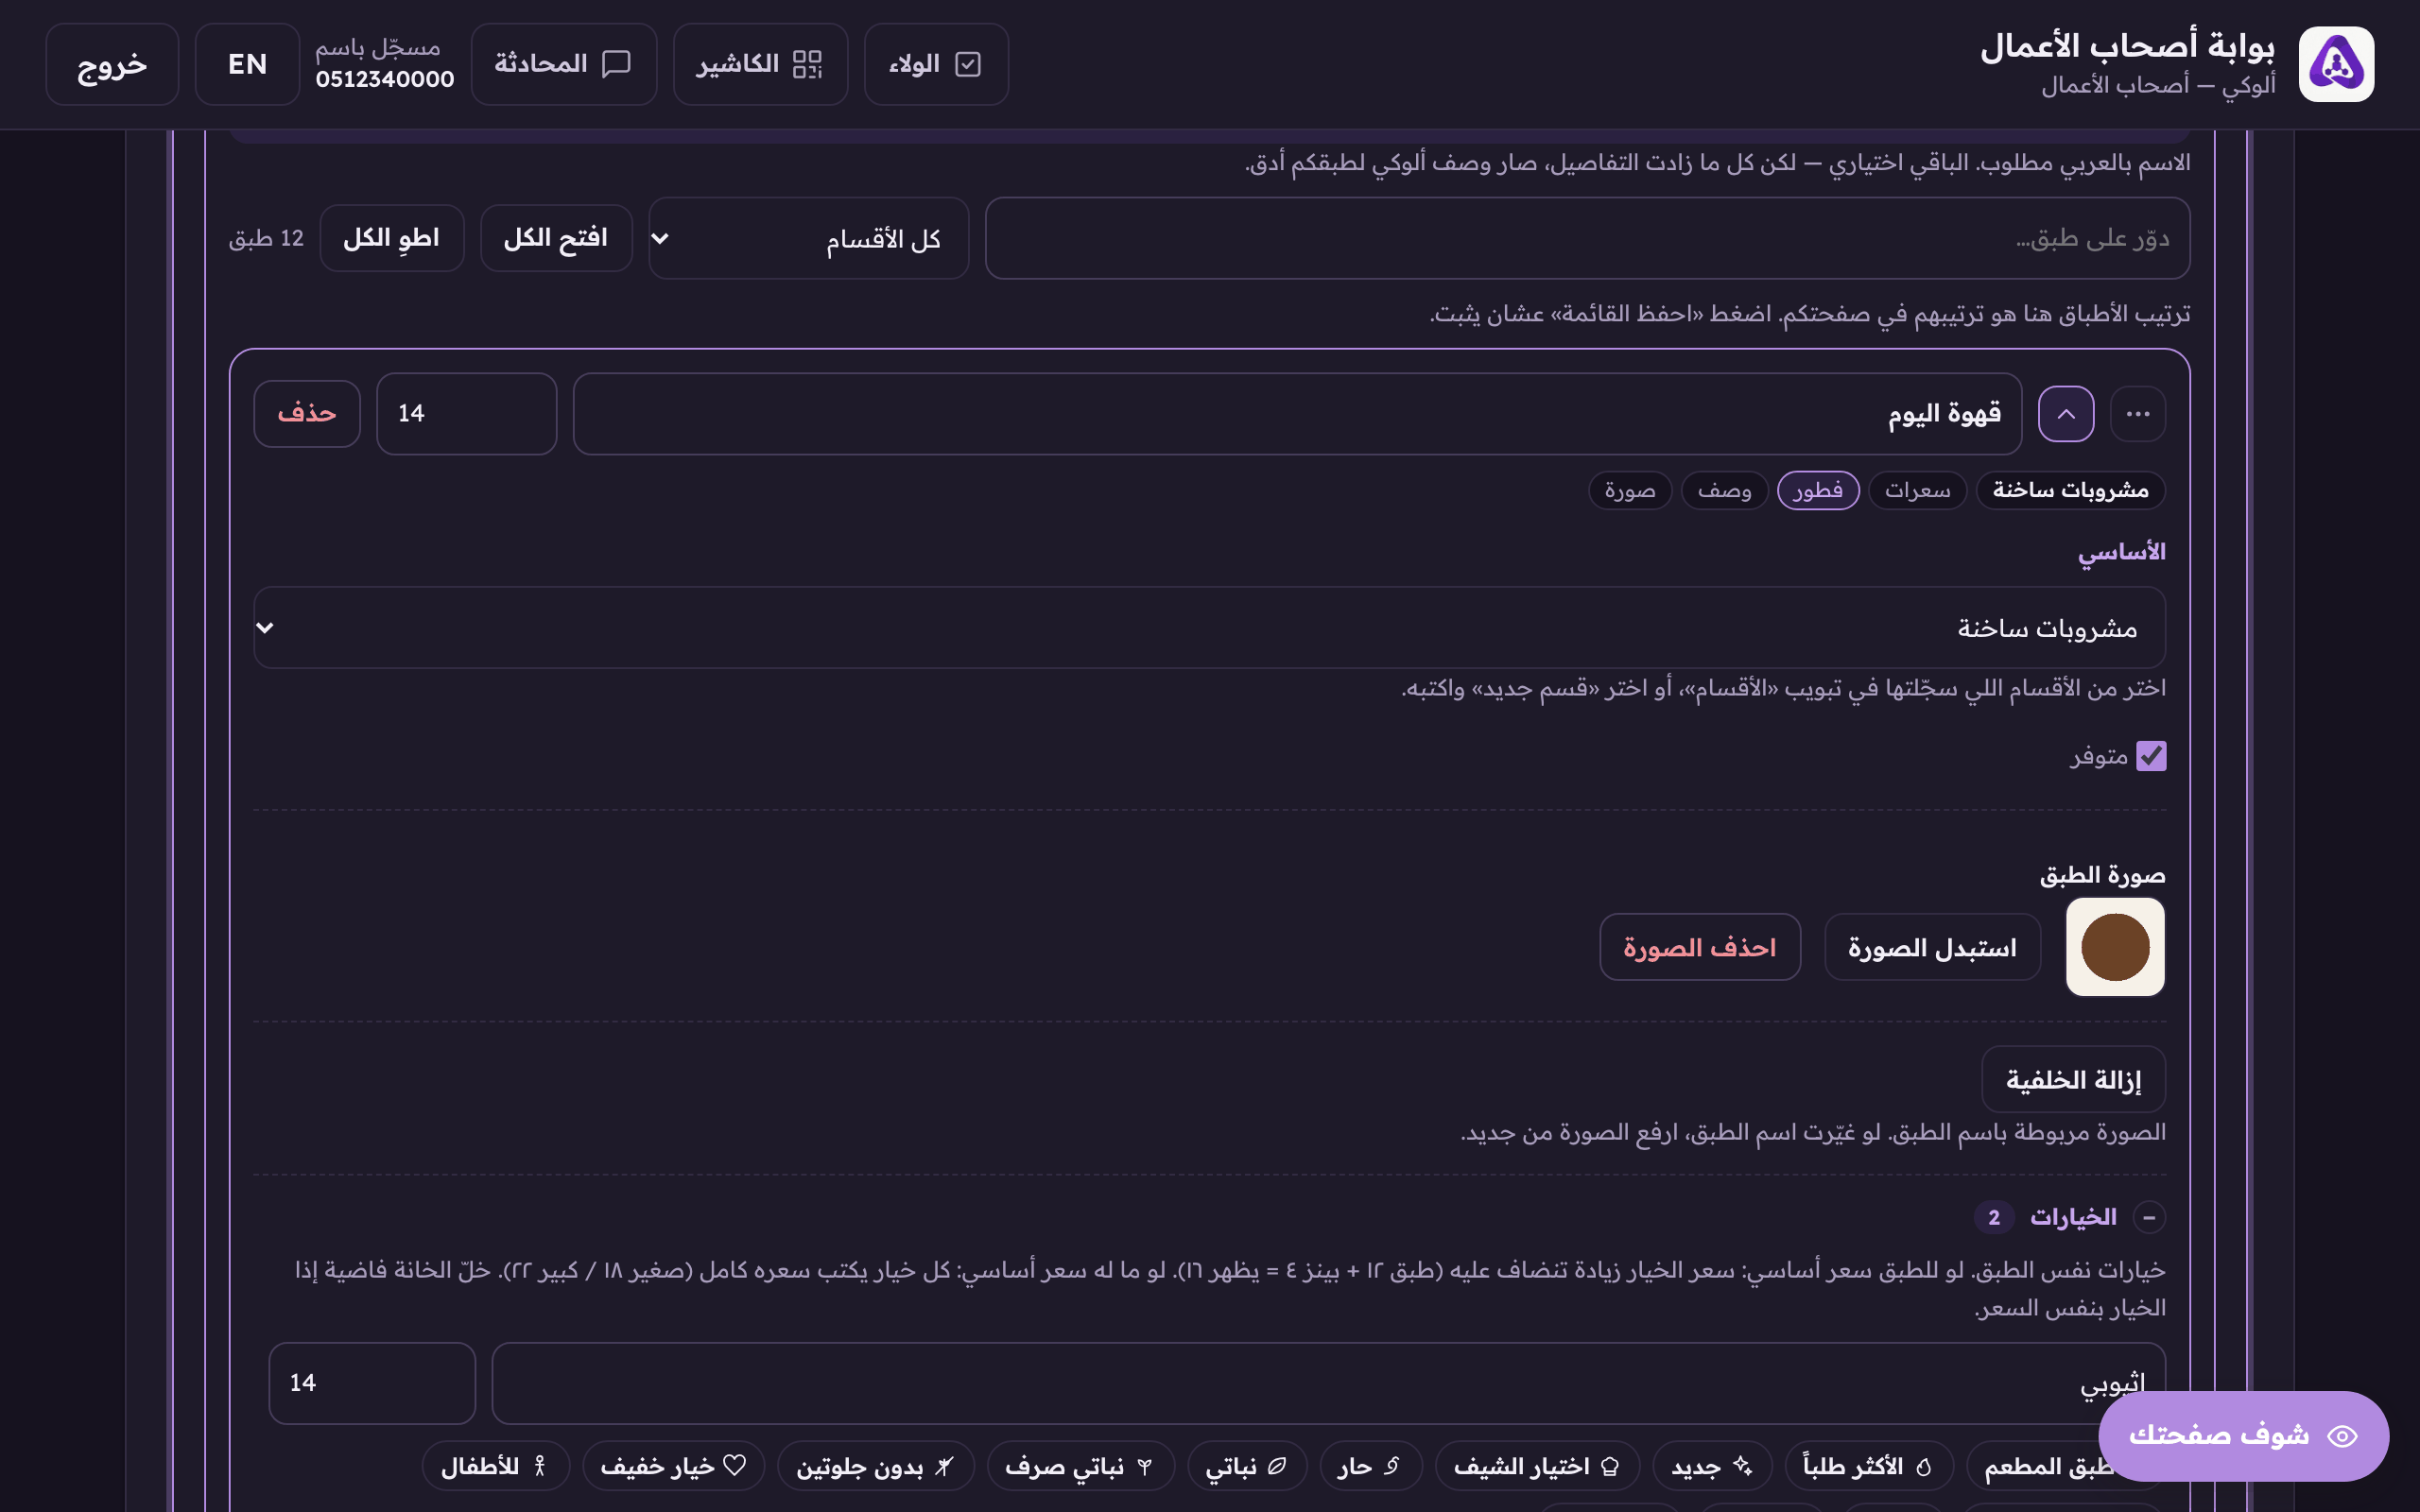
Untick it when the dish is off. It leaves your page and cannot be sold. - Press «Save menu». Every edit above is stored in one press.
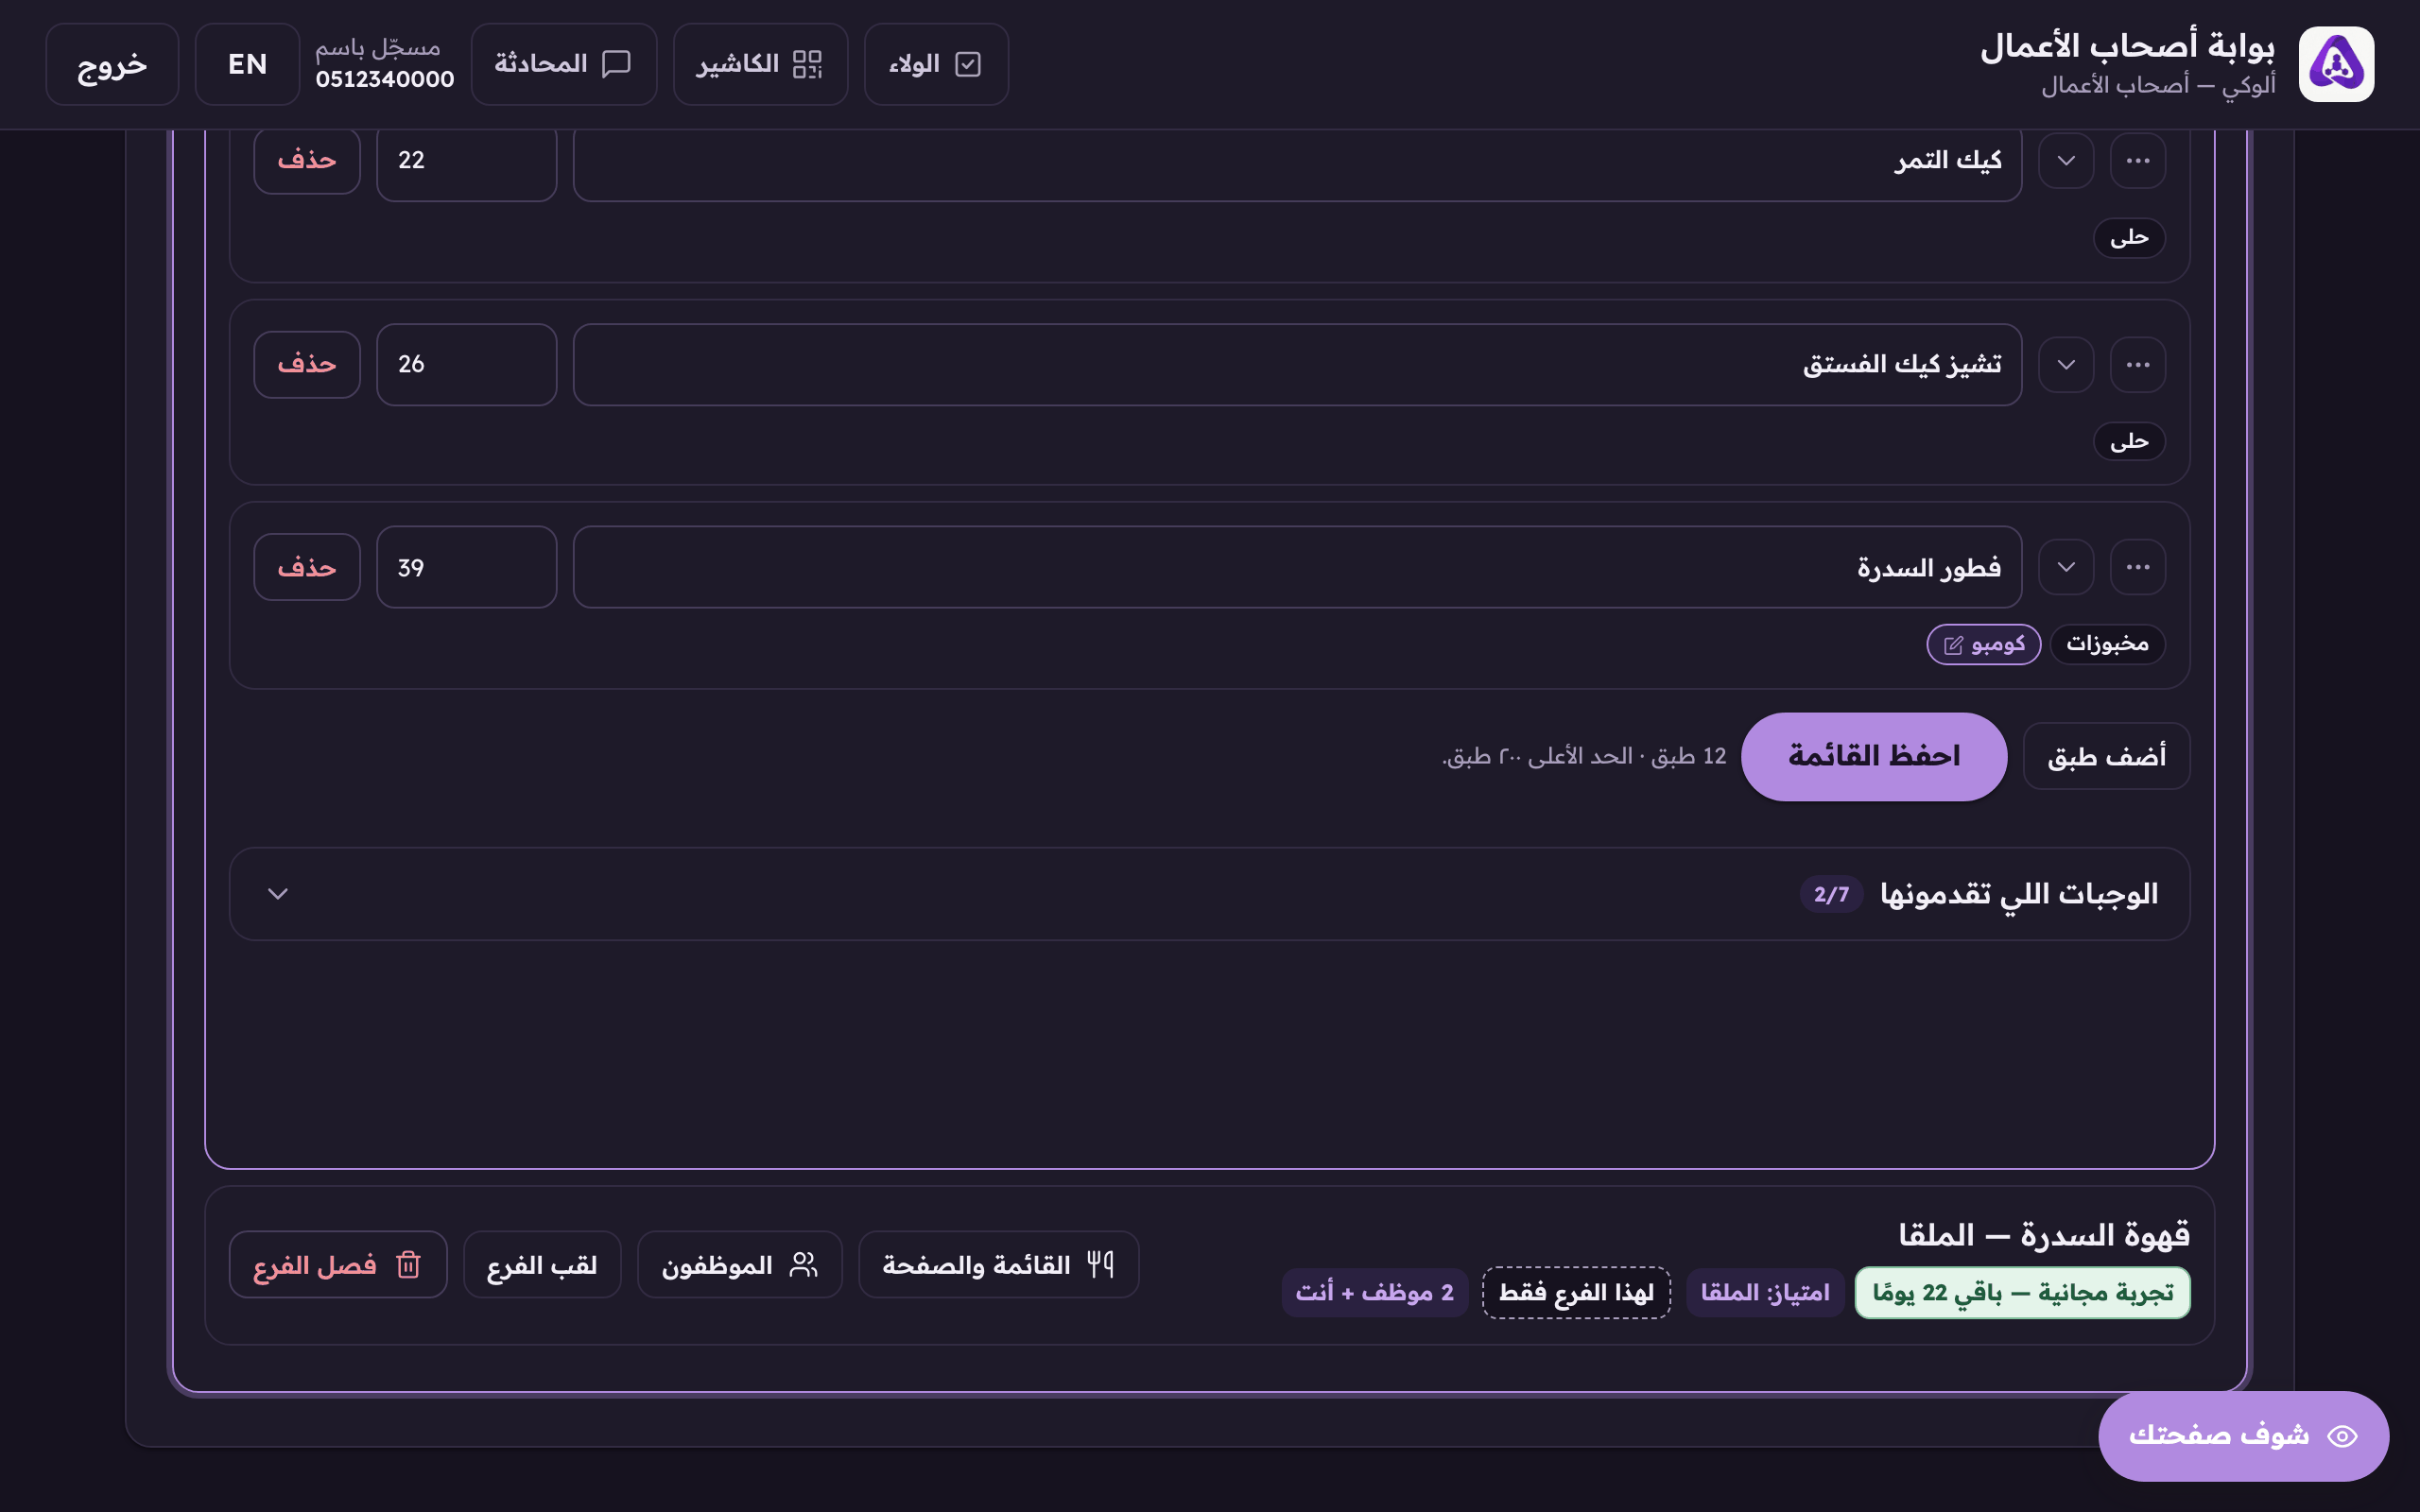
«Save menu», every edit above is stored in one press.
- When the list gets long, search a dish by name rather than scrolling for it.
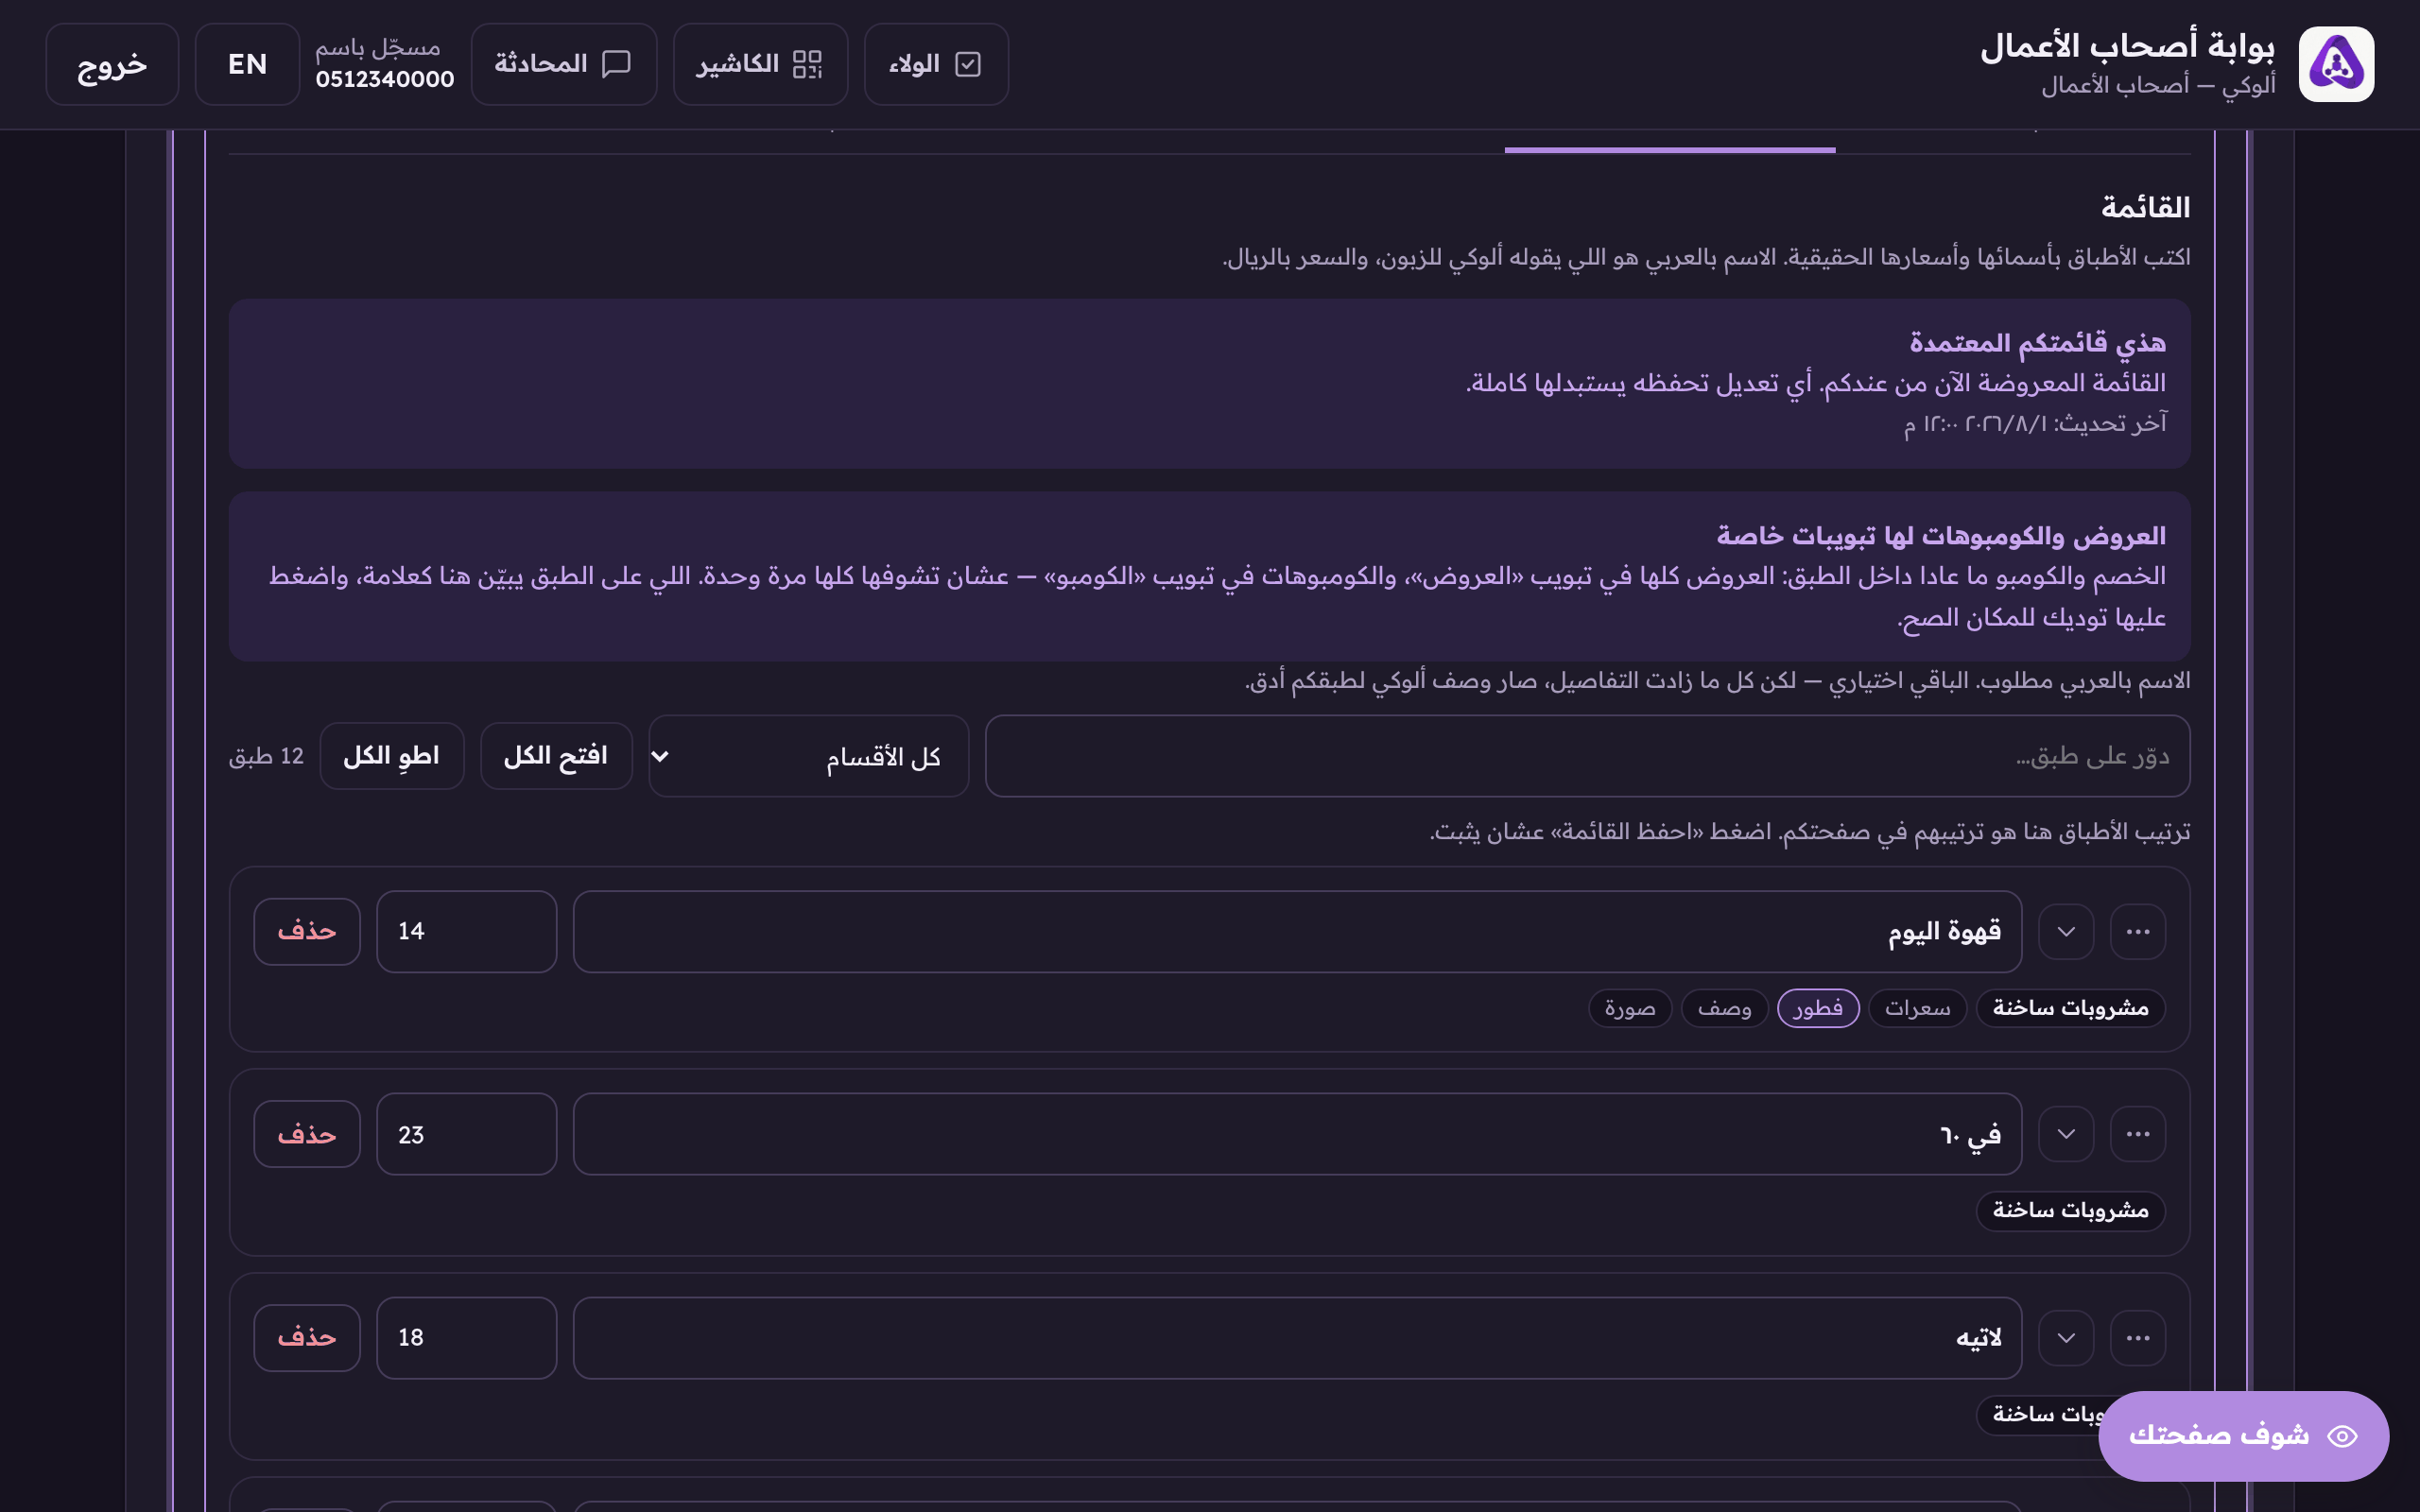
Search a dish by name when the menu gets long.