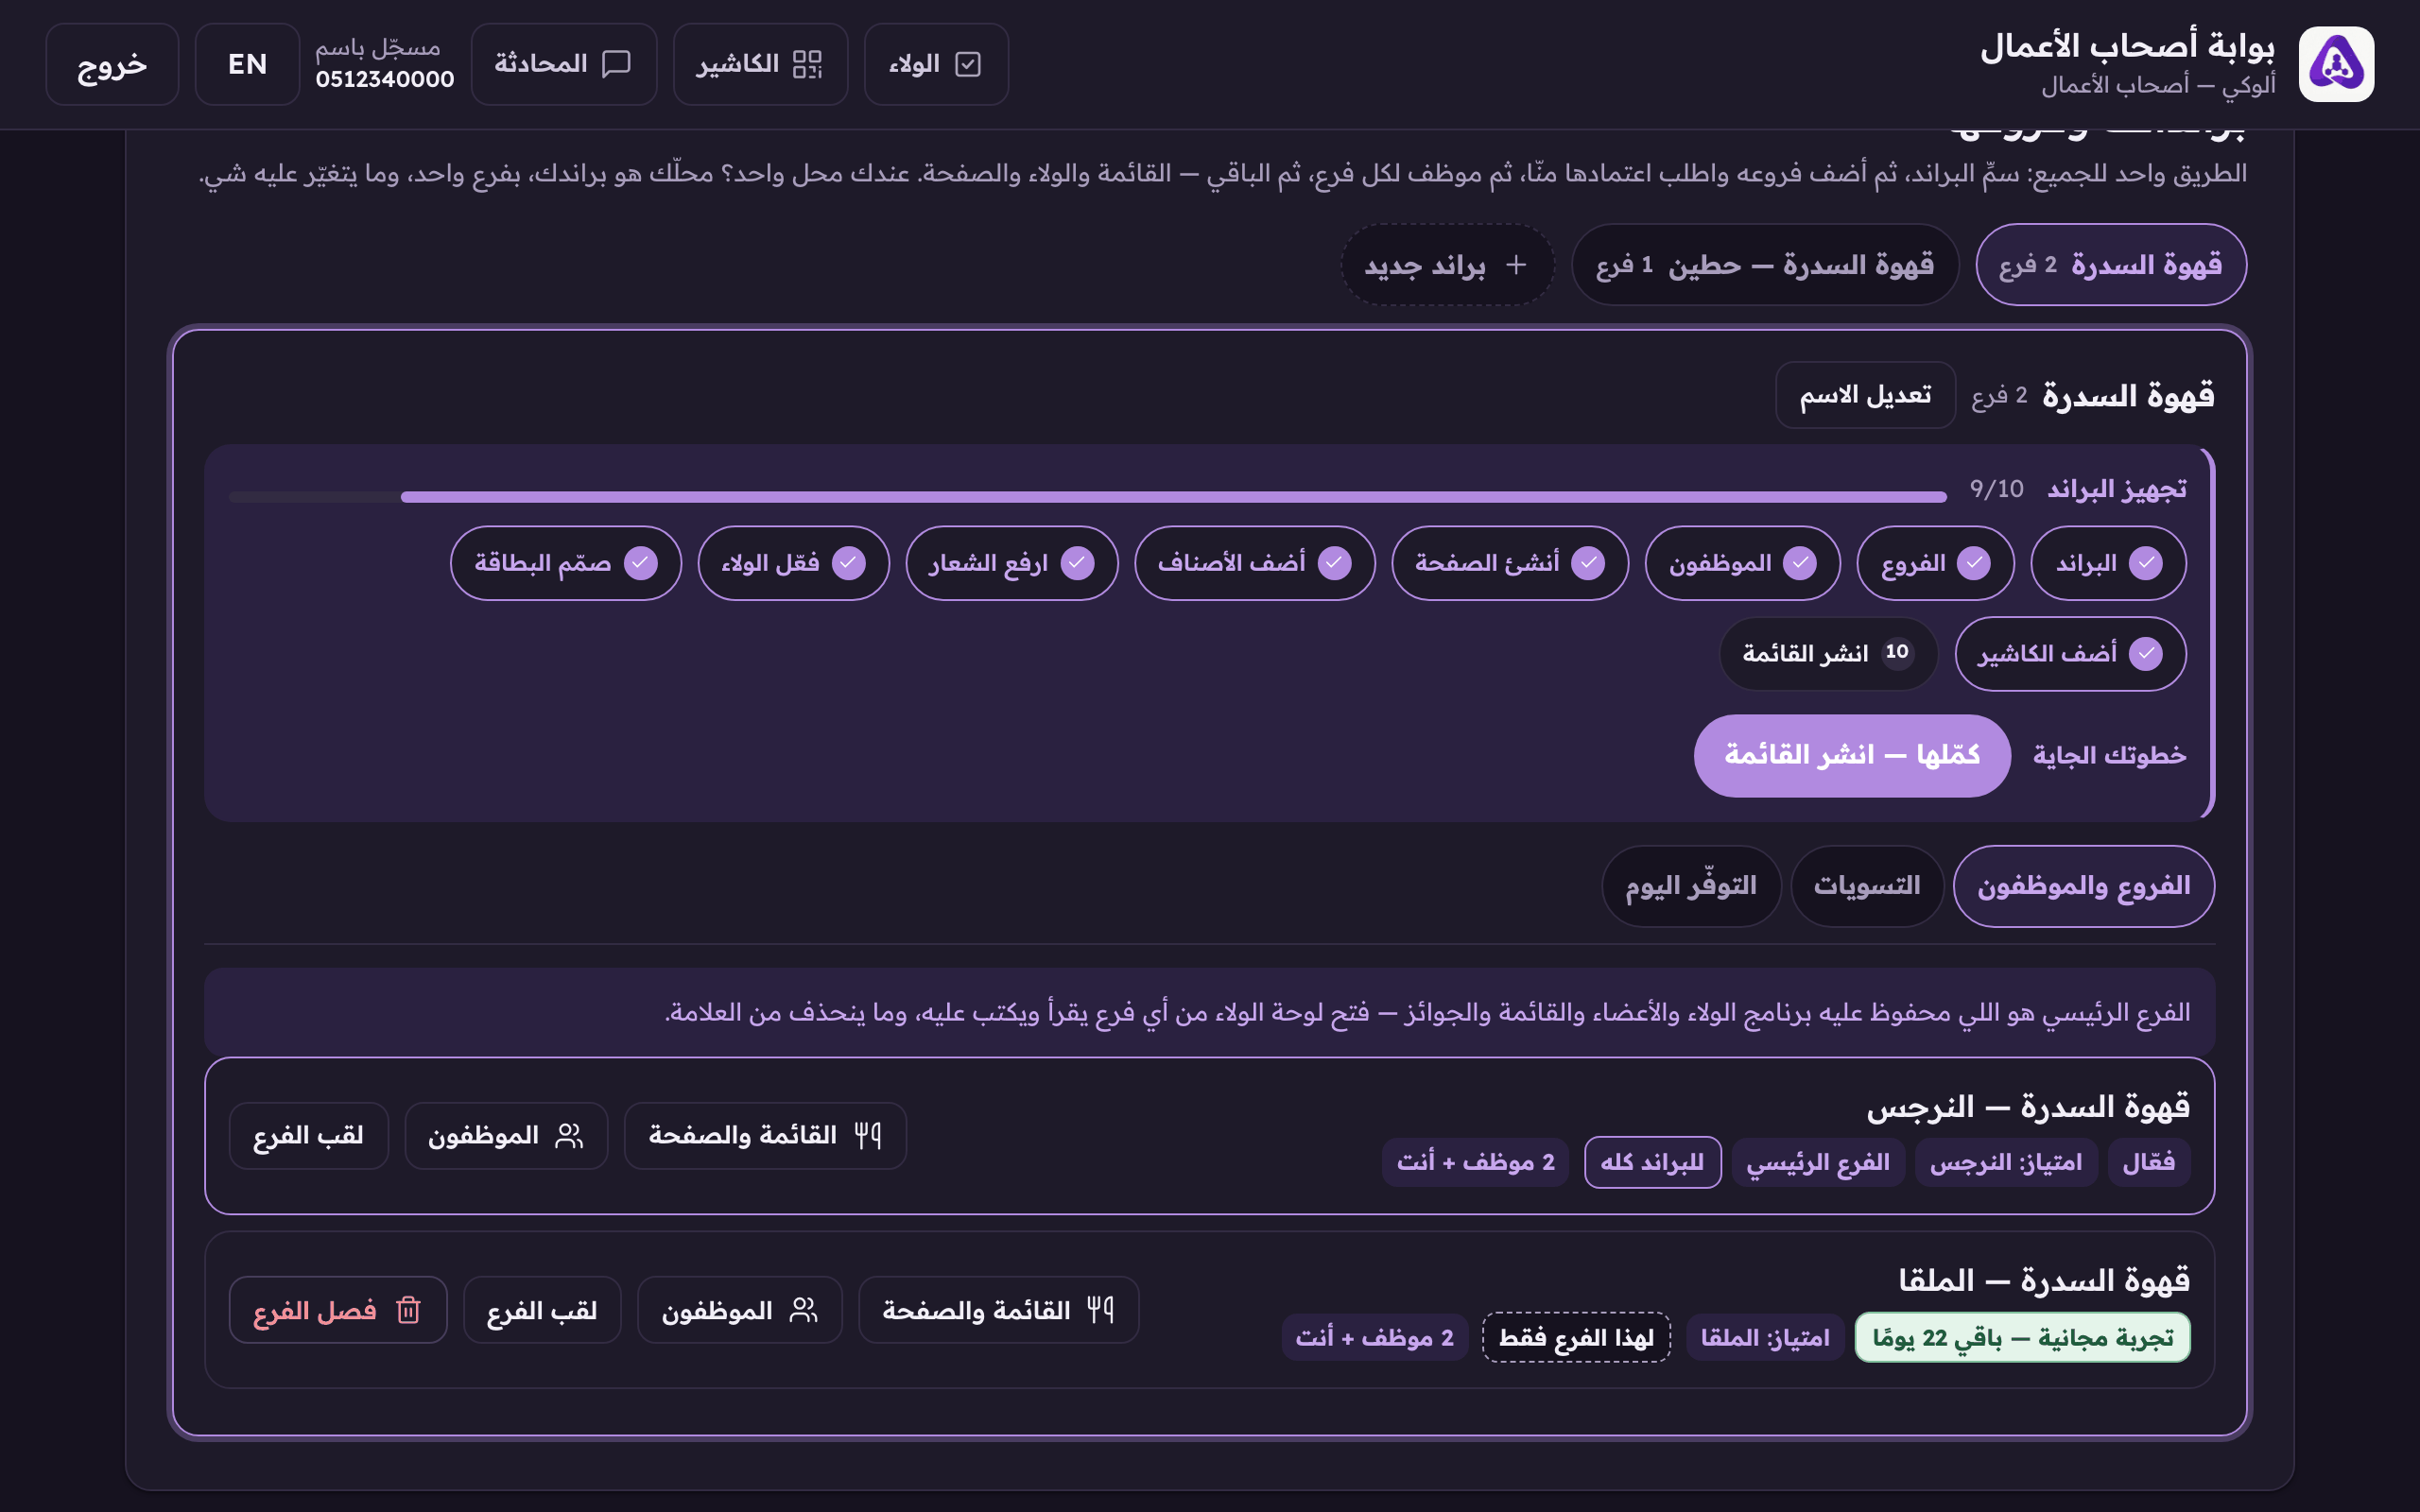
Two strips walk with you: the brand's setup, then the shop's.
Aloke Owners
Web
Two strips walk with you, in order. First «brand setup», above your brand: the brand, then the locations, then the staff. Second, «your shop's setup steps», above each branch's console: the page, the dishes, the logo, publishing, loyalty. Each finished step ticks itself, and it is not decoration. It is the order that skips nothing.
Press «Continue» and it takes you to whatever is missing. You may do the steps in any order, but this order is the fastest.The journey strip shows what is still missing, and the button takes you straight to the next step.
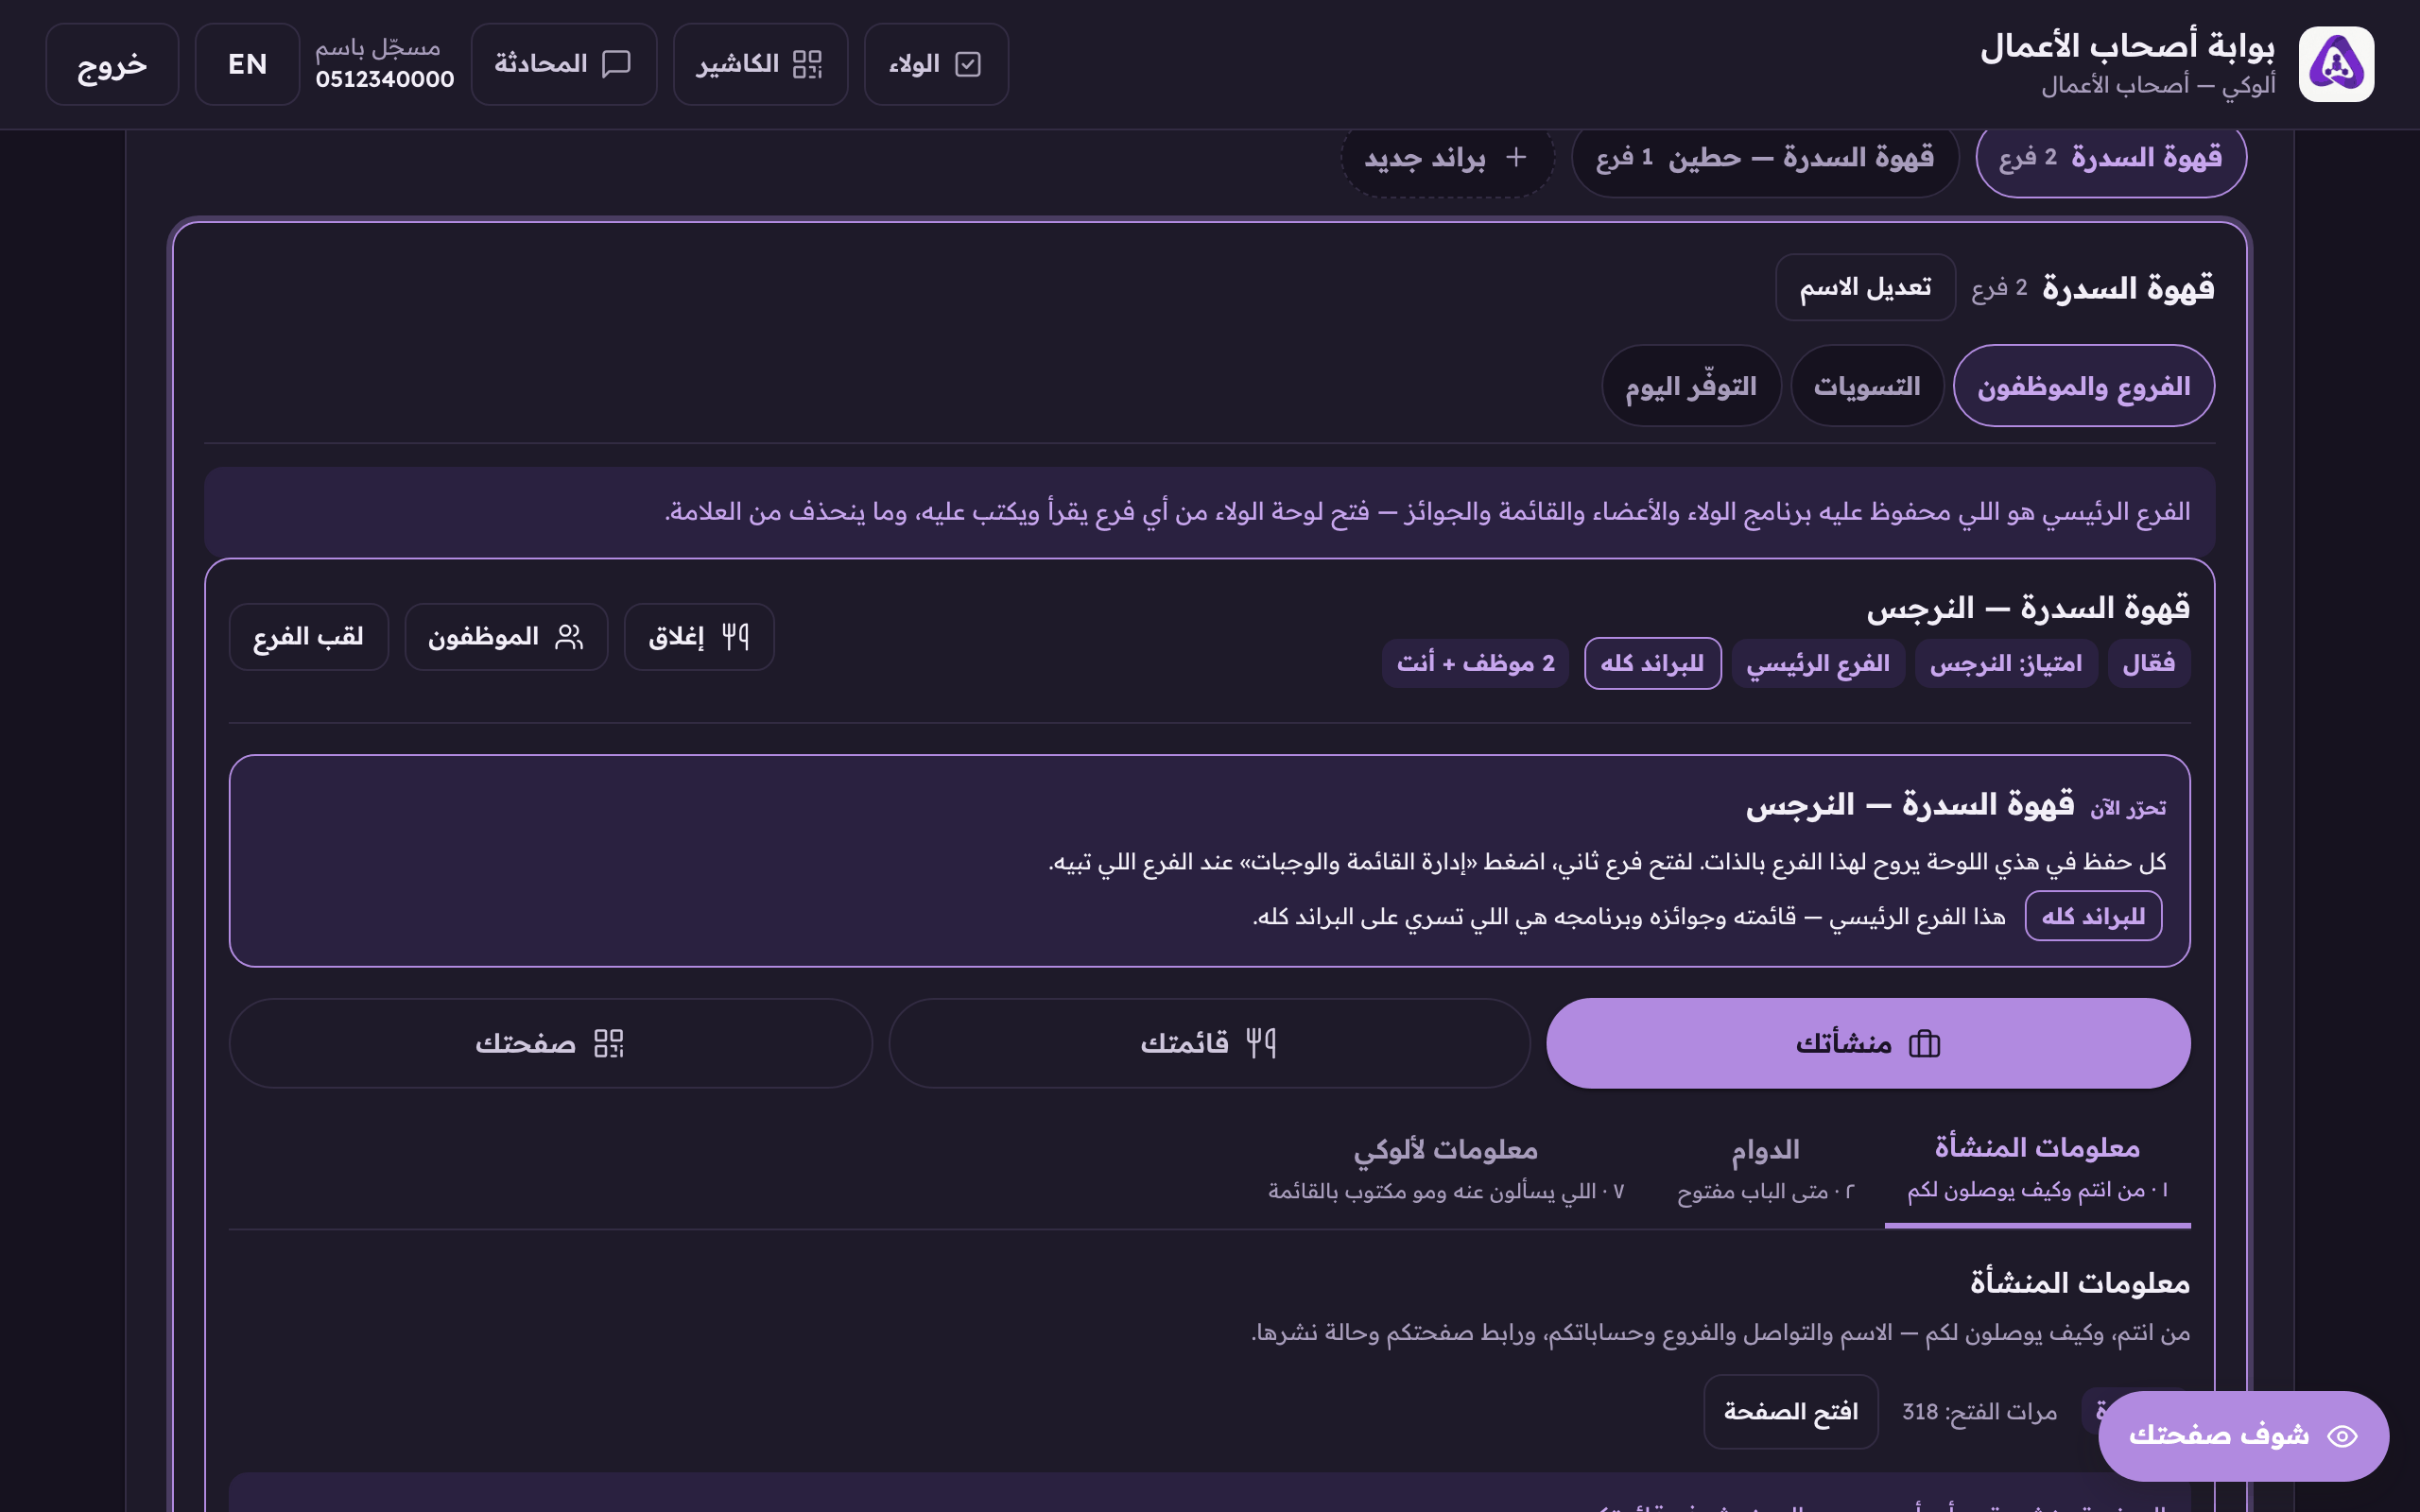
Look at your page at any point as you work through the steps. The button is fixed at the bottom of the screen.«See your page» opens a live preview while you edit.
Add your first location
The brand strip's first step after the name. And if your claim is in review, the strip says so plainly and offers «see your claim's status» instead of asking you to file what you already filed.
Create the page
Save your business details once. A name and a link. From that moment your shop has a real page at a permanent address.
Add the dishes
Enter your dishes and prices. Everything downstream leans on this step: prizes, prepaid bundles and order-ahead all pick from your menu.
Upload the logo
Your logo appears at the top of your page, inside the QR code, and on the loyalty card.
Publish the menu
Before you publish, nobody can open your page. Publishing is what makes the code on the table work.
Turn on loyalty
Switch the programme on, choose how it works and what it costs. Until it is on, your customers collect nothing.
Add a cashier
Invite at least one member of staff. The owner counts as the first staffer automatically so you are not blocked, but the branch's till cannot run without you until a real employee is added.
 Aloke
Aloke